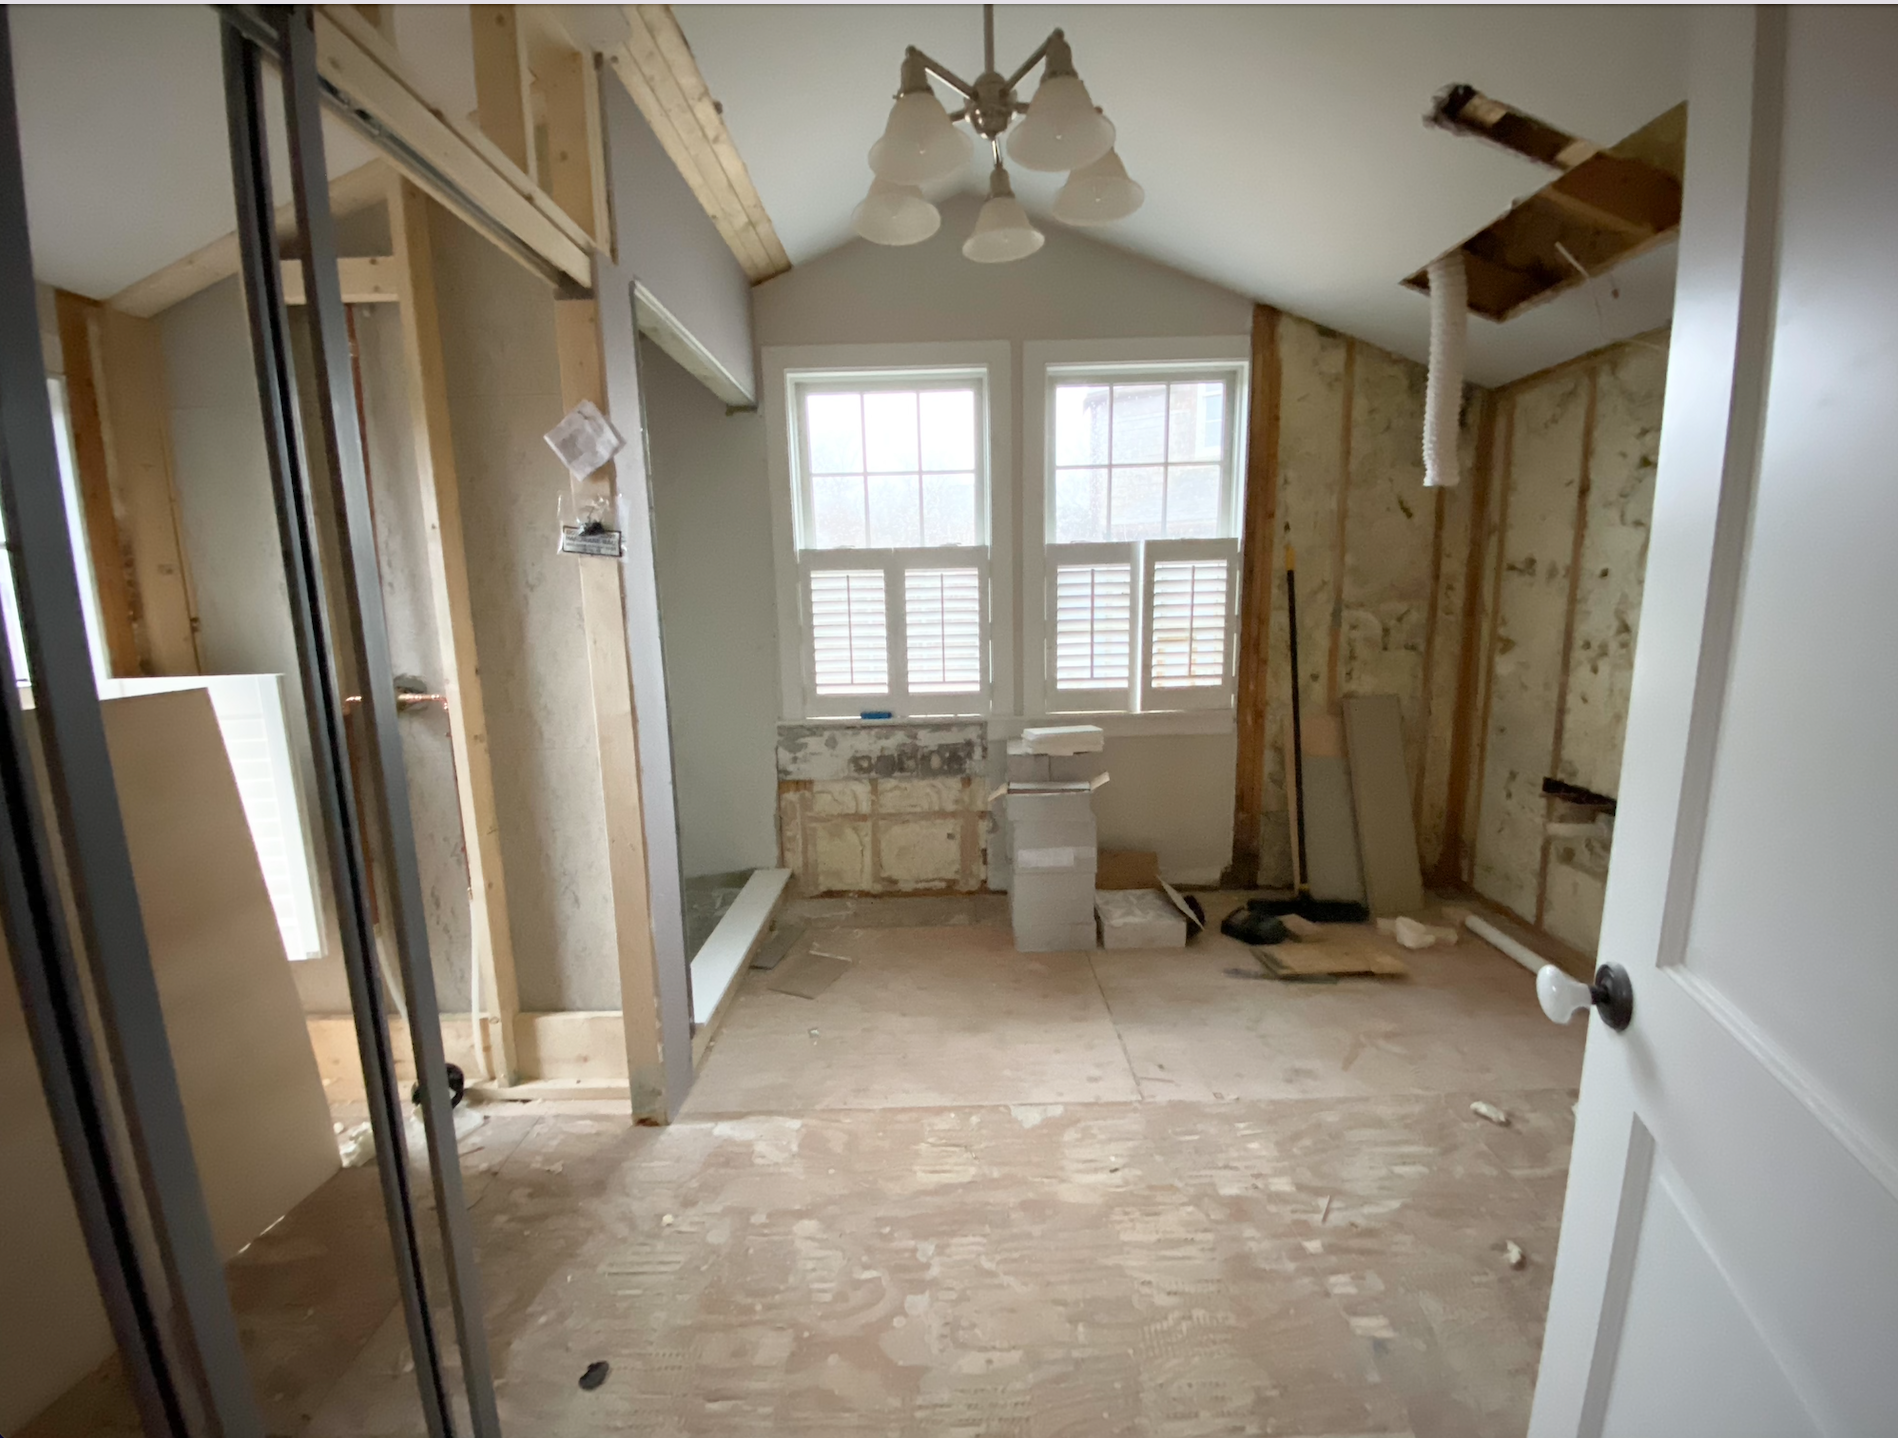
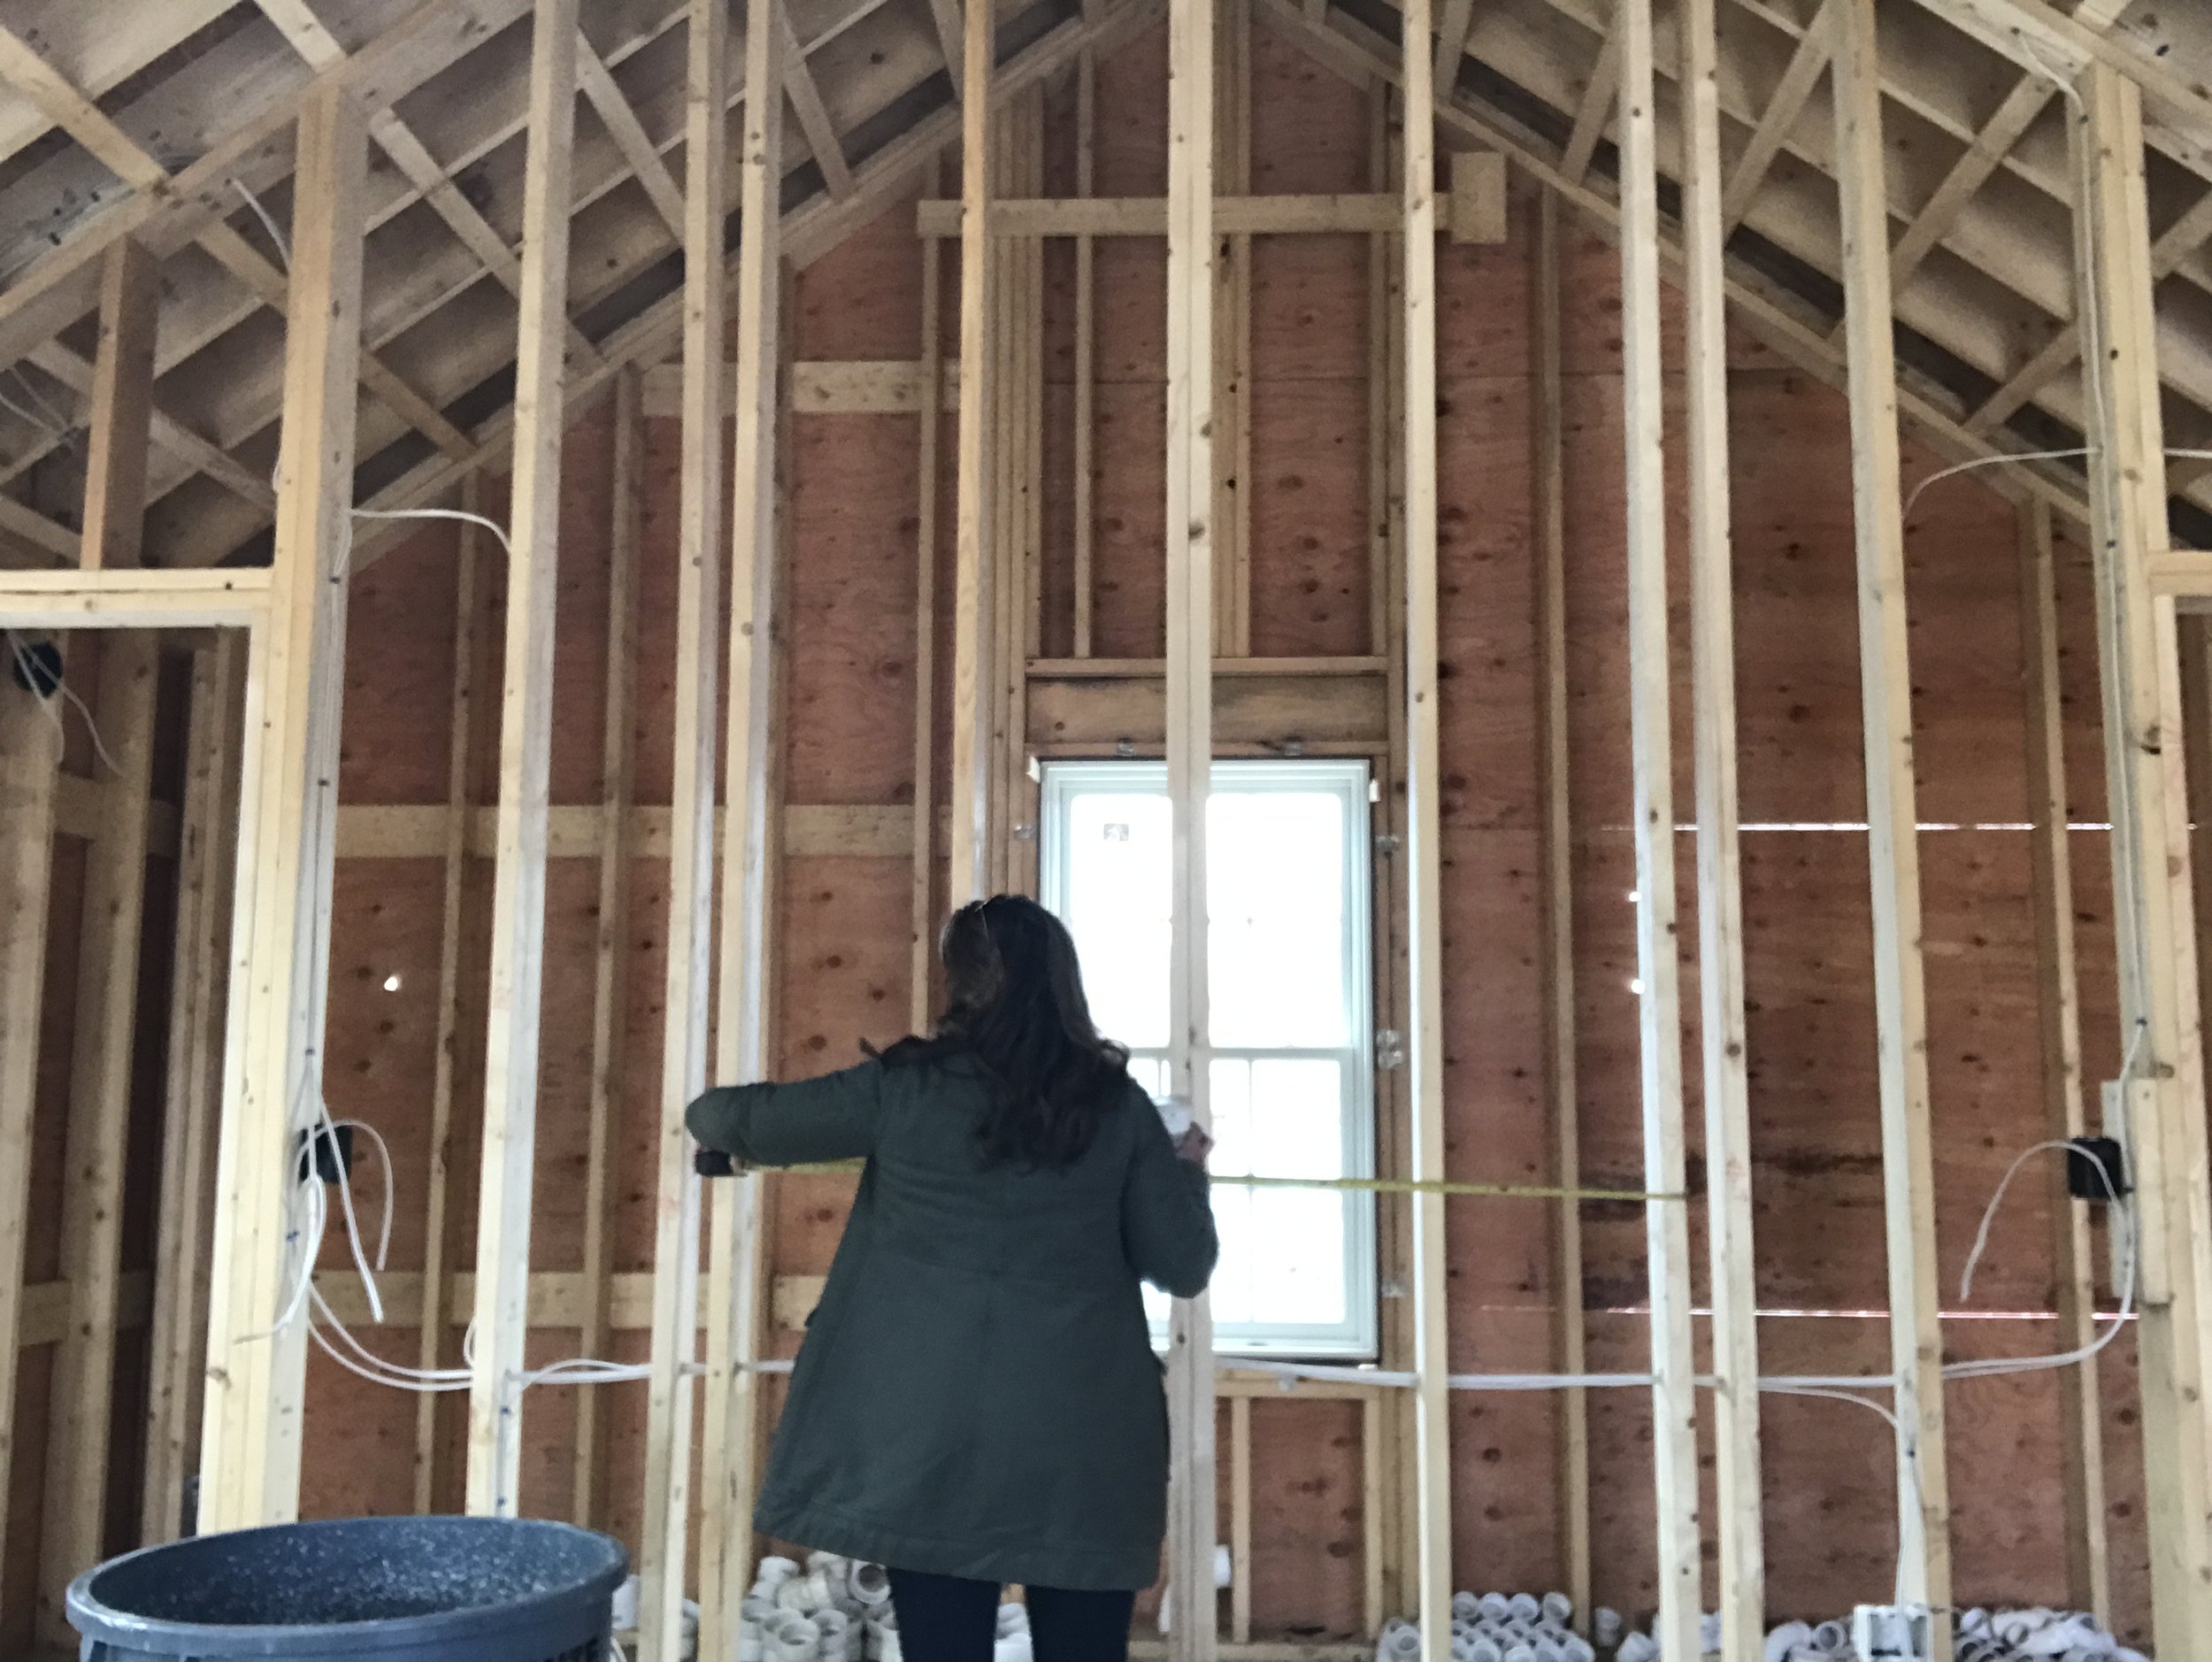
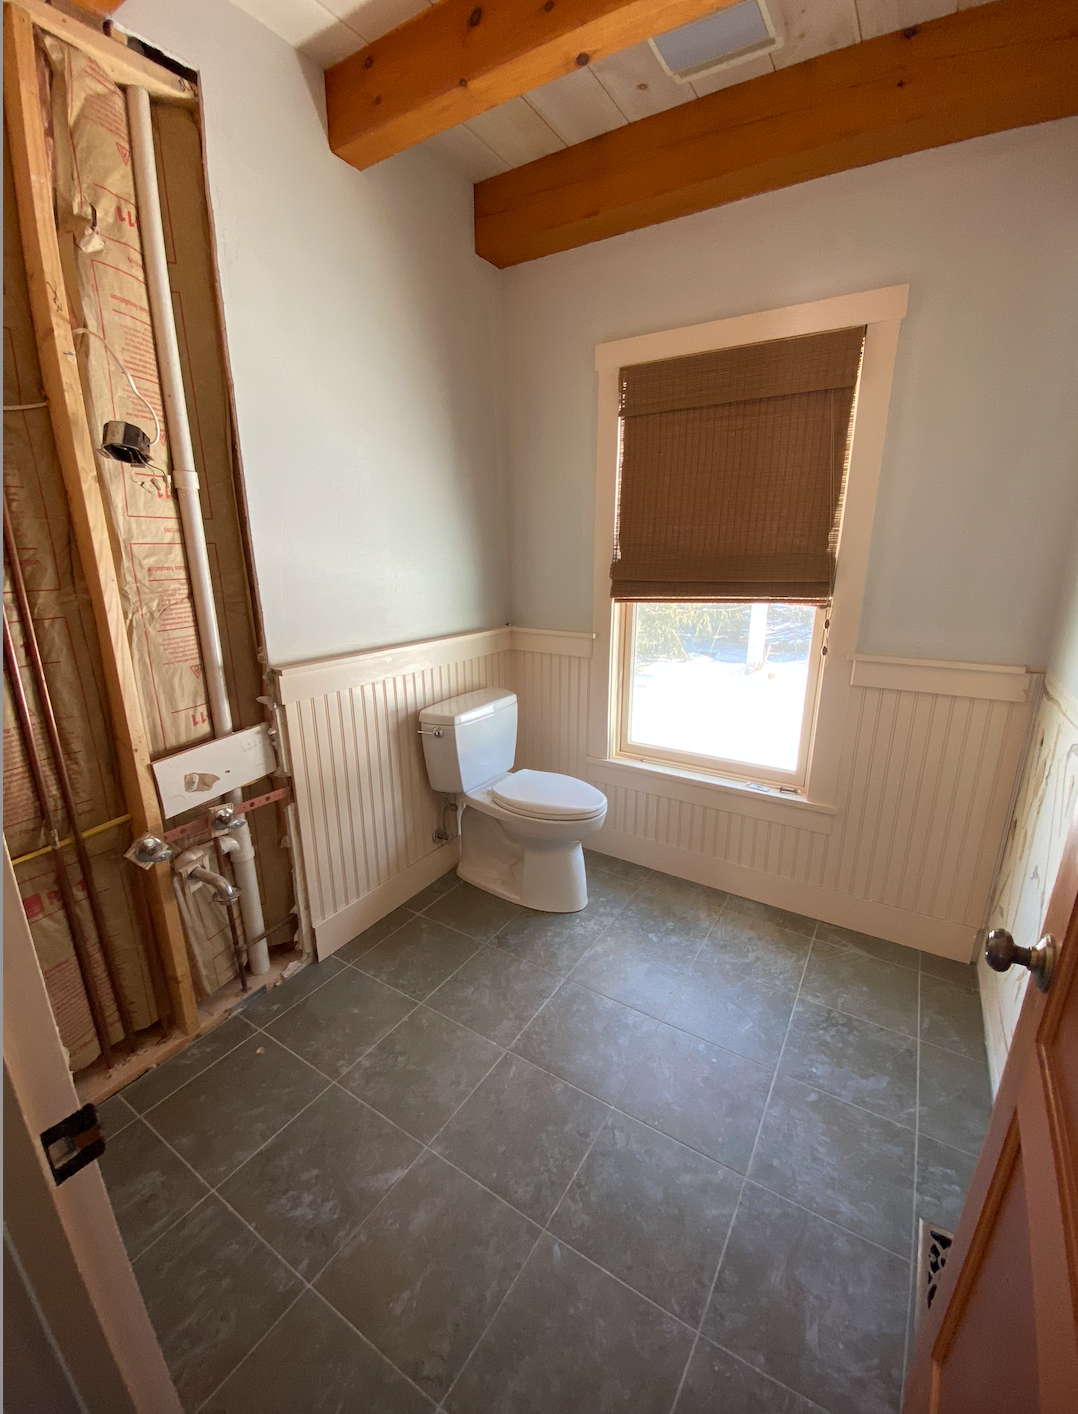
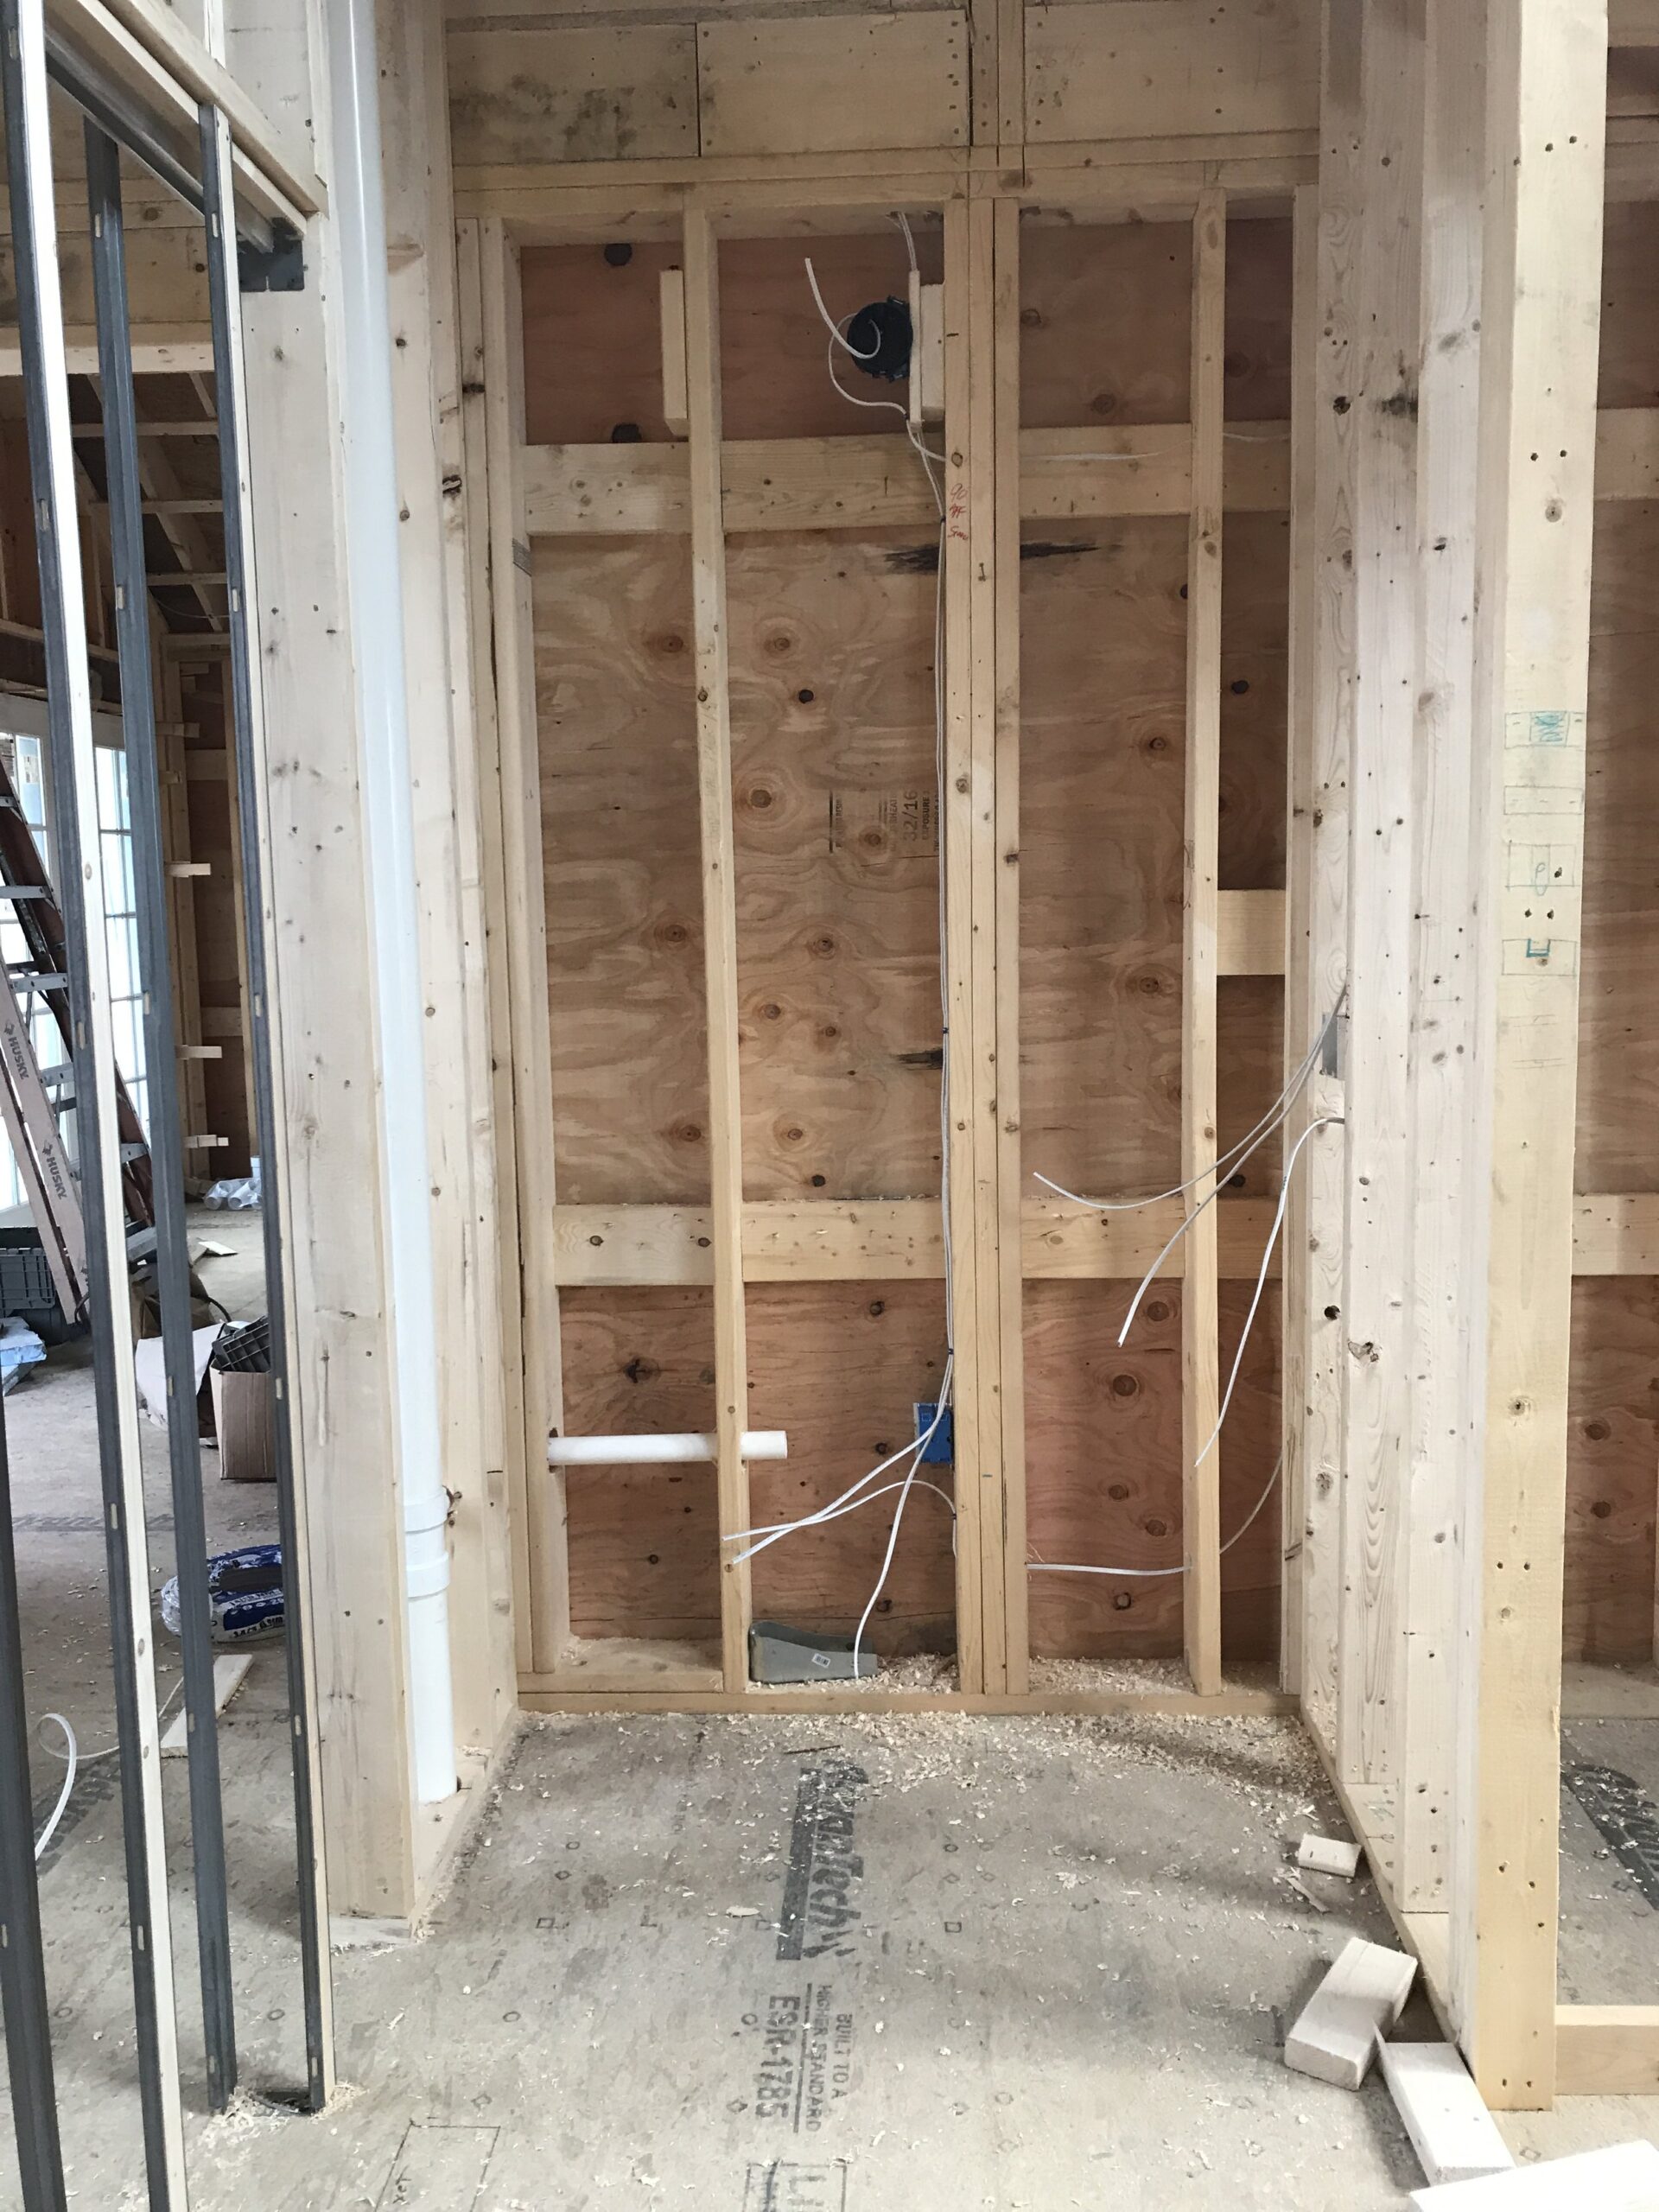
Whether your next project is a powder room refresh or you’re embarking on a major new construction project, organization is key. There are various components that need to be organized, ordered, orchestrated, and watched over with a consistent and ever-present eye to ensure your project comes together seamlessly and successfully. Let’s breakdown the various components which are also known as the building “schedules”. Oh, get out your notebook, notes are a great idea here.
Plan Review
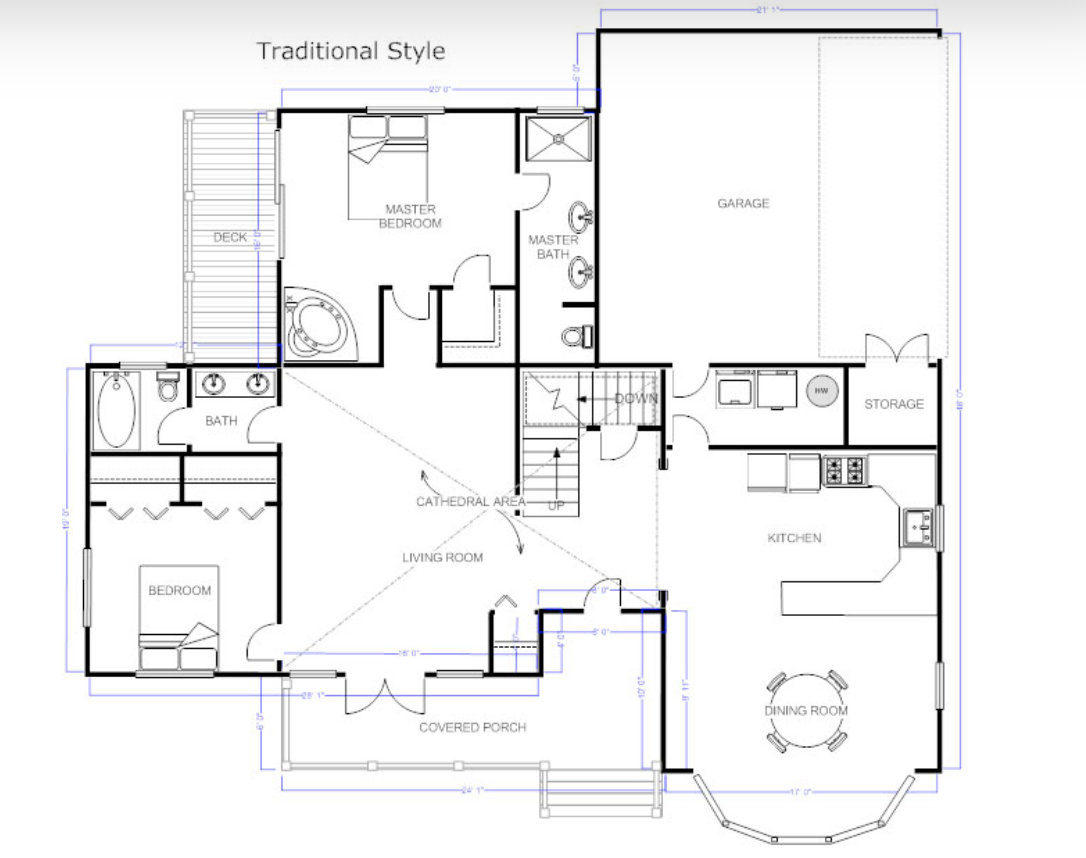
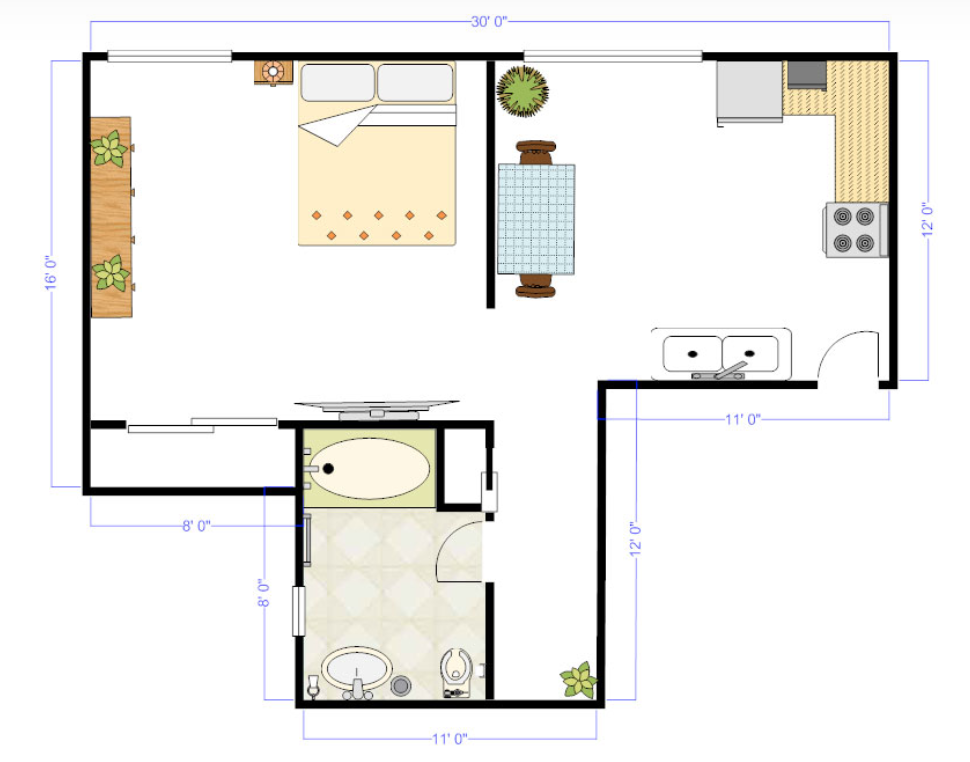
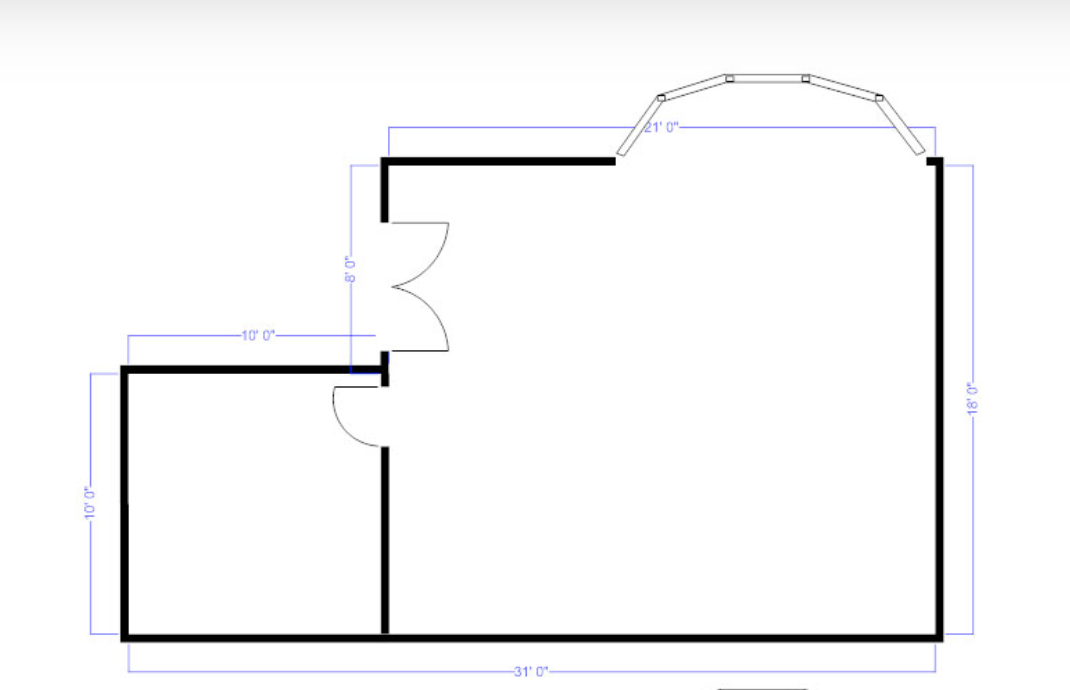
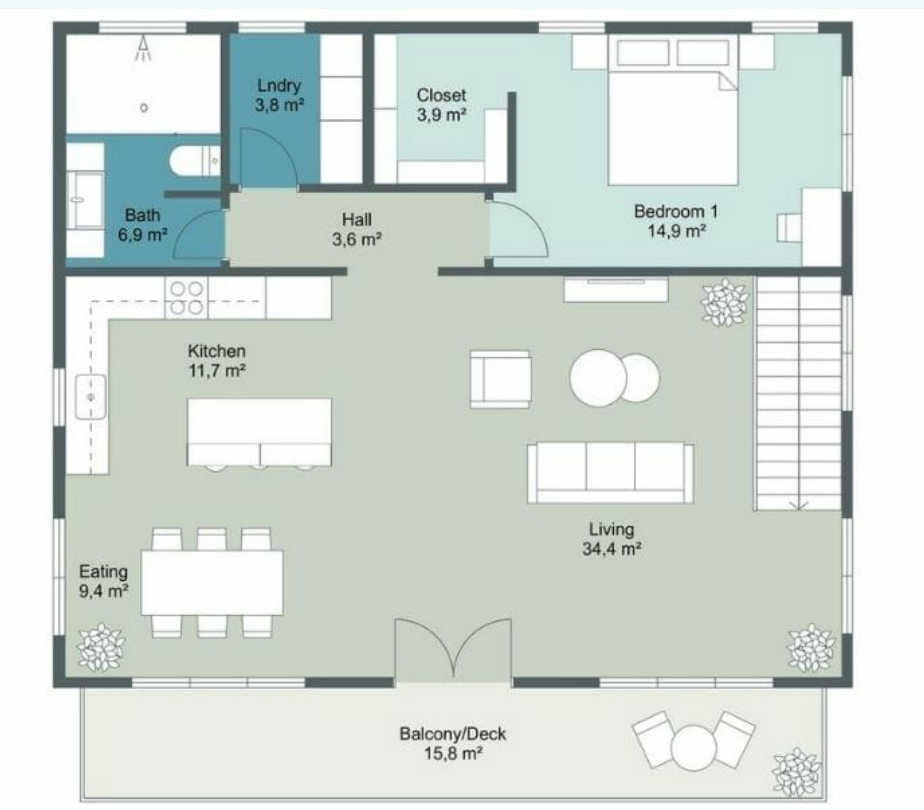
The design process starts before a shovel touches the ground, or before a single product is selected depending on the scope of your project. If it’s new construction or major renovation you’re taking on, the building plans are where we kick things off. Even if it’s a bedroom remodel, a plan to start with will help all trades people involved. The bigger the project, the more extensive and important your schedule list(s) will be. It’s time to pour over the details – no detail is too small. Every doorway, door swing, window placement, window size, flow of each room and how they connect to one another for example. Time spent here saves money, end of story. It’s a time to envision how you walk, cook, sleep, do laundry…basically how you live day to day your future space walking virtually through the house as you’re looking at the plans. Changes made here cost next to nothing if nothing at all. These same changes once framing starts can cost big time, and if the trades have started like plumbing and hvac, we could be talking thousands for what feels like a simple modification. Doors and windows not only are costly, they take a bit of time to come in so they are often ordered before anything else. We want to get this right from the outset. So get out a magnifying glass, literally and mentally.
I like to think about furniture placement at this stage believe also it or not. Sometimes plans or architects come with “suggested” furniture arrangements. You’re certainly not married to these layouts, let them be helpful, but feel free to ask for plans that do not have these added layers if a clean plan translates better for you.
Questions I ask during a plan review – Do I want windows on either side of the bed? Or would I prefer a bank of three transom windows over the headboard? and if so, how high? (real – select your bed now so you have this locked in) More questions – does my client want as many windows as possible or are certain rooms looking for a cozy space with floor to ceiling bookshelves for example? Are any rooms flex spaces that need to check off on double duty spaces? Does the first floor den need an ensuite bath and a closet so it can function as an extra guest room or offer resale value as a 1st floor primary ensuite? To know me is to know I love pocket doors. Think about opening the door to the pantry (your arms full of groceries), now, closing the door, arms full, to then access the area behind the door…would your plans be better suited with a pocket door, or maybe you don’t need a door at all (hello, money saved!) The more you details you can establish at this stage, the less changes you’ll come across later which translates into real dollars.
Finish schedule
This is where I organize the major details of the home. Windows, Doors, Trim style, interior door style, flooring selections, interior and exterior door hardware (style and finish), lastly, the biggest detail arguably is your stair design (think threads, risers, handrails and balusters). Your stair design affects framing as well as later design choices. Finally, I also include anything special that may affect framing which happens at the early stages of the build. For example, any areas that may have shiplap (or another wall treatment) because the builder will prep and potentially trim those walls differently. This schedule can be built out sitting with your builder, designer or a even on your own, after a bit of time perusing online tools like Pinterest, or home magazines and websites.
Plumbing and appliance schedule
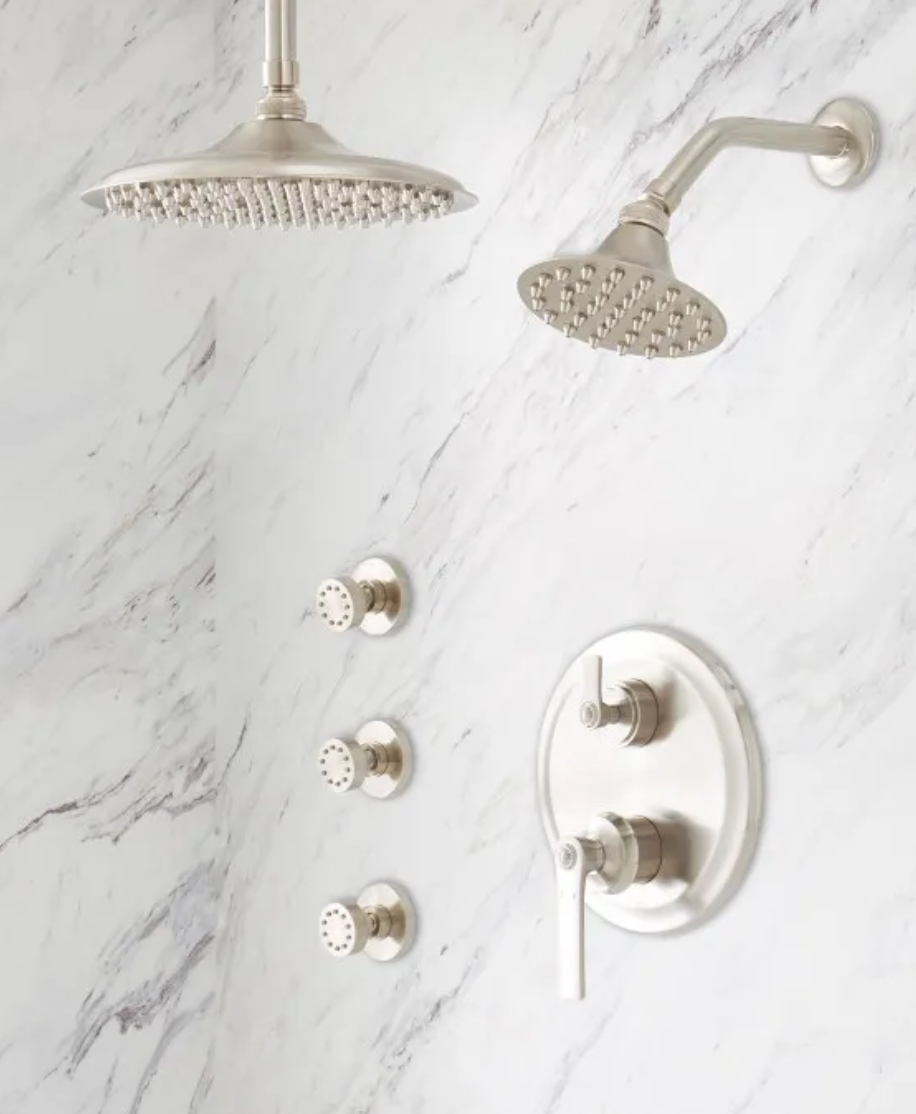
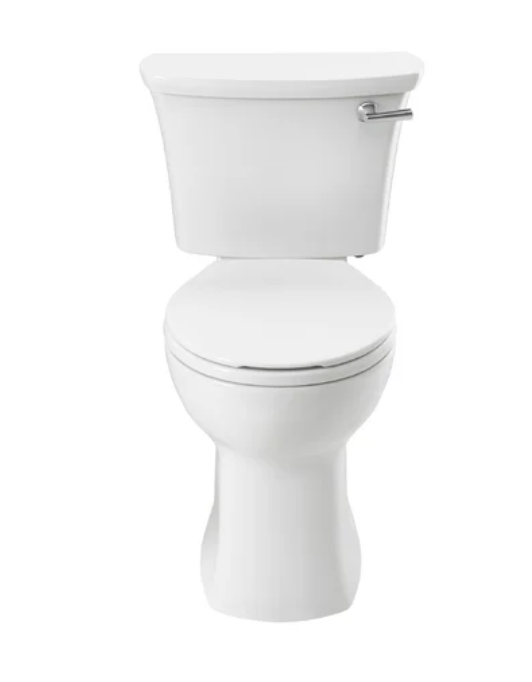
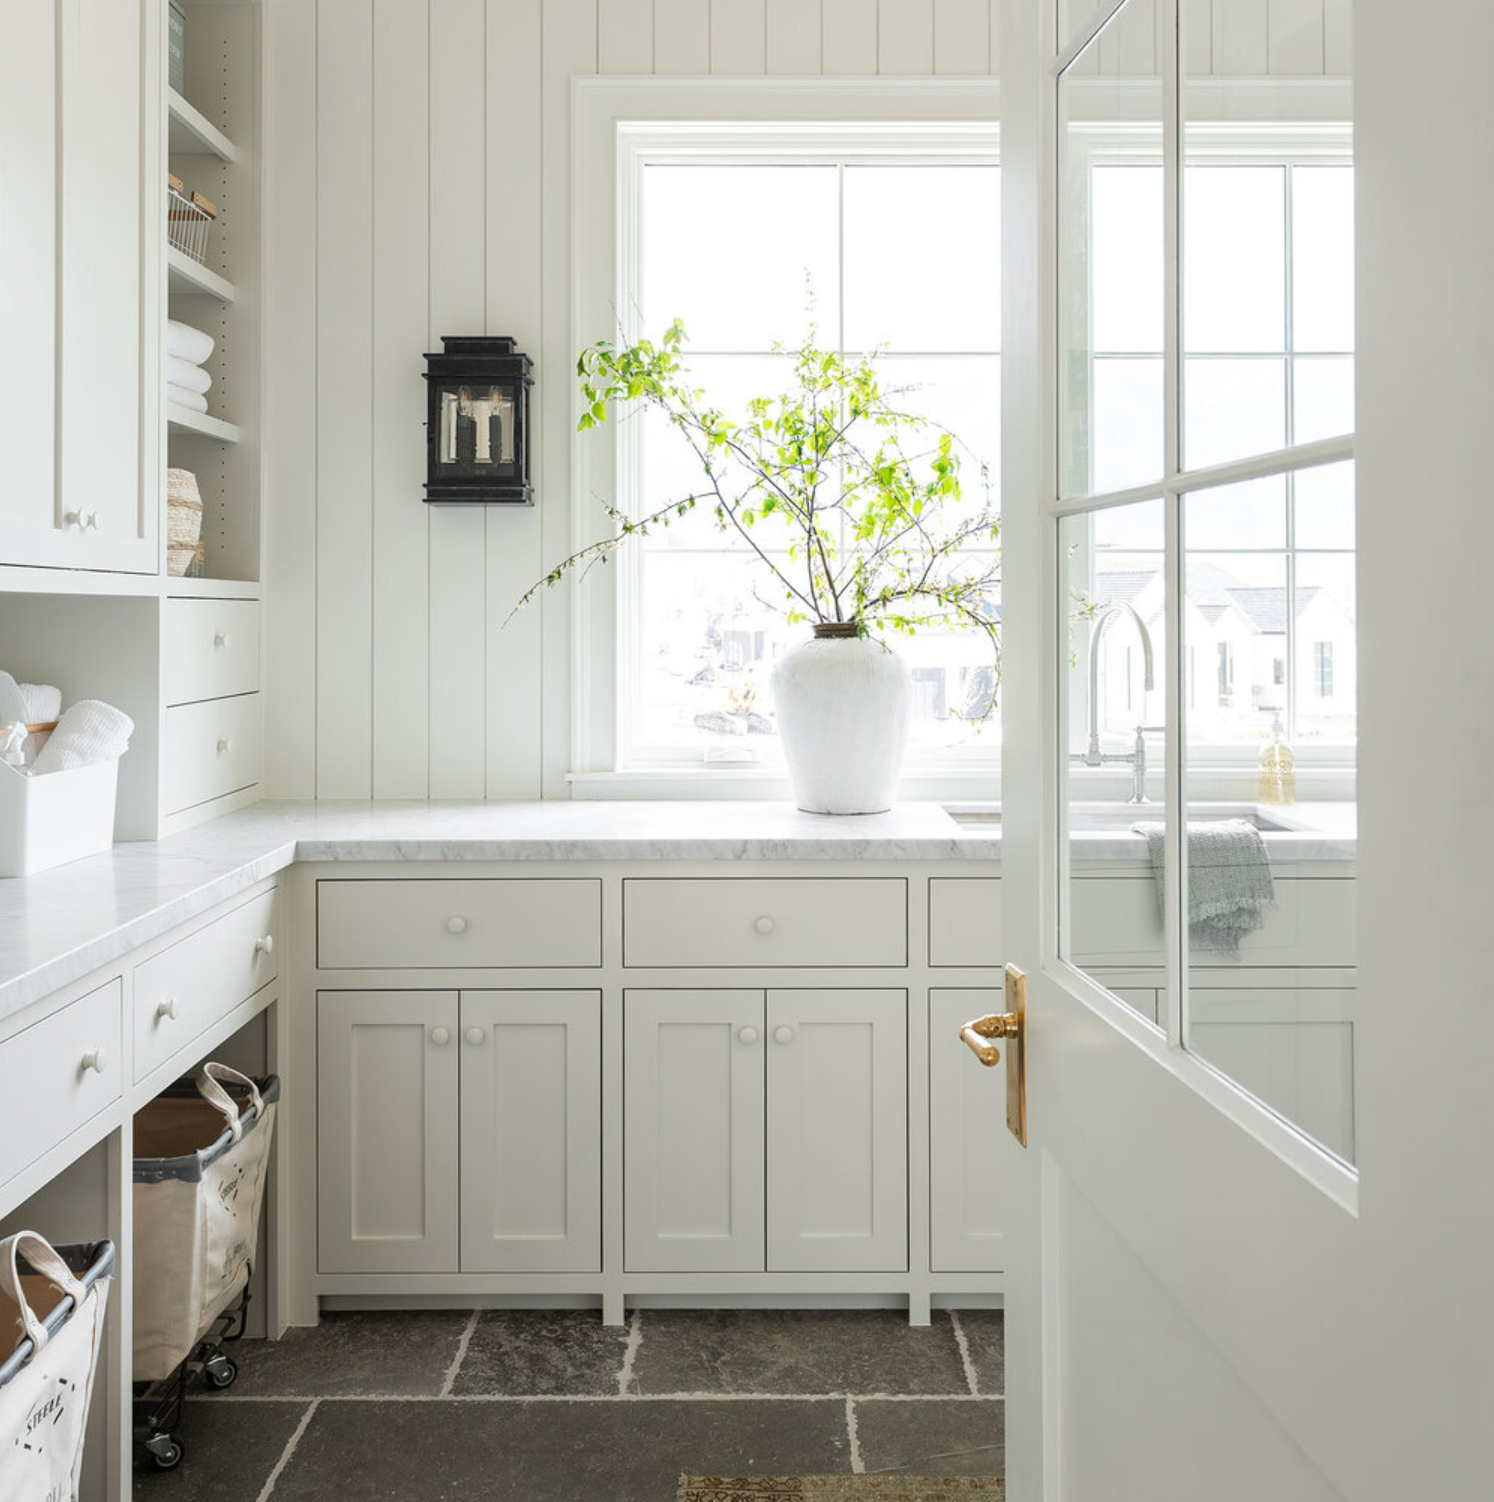
As the name suggests, this schedule is where all of the plumbing and appliance details live. In your kitchen you’ll need to have your appliance info at the ready for all of your tradespeople (electrician’s on how to run electrical service to your dishwasher location, microwave etc while your plumber will need to know if they need to run a gas line or a pot filler). Then it’s the laundry area as well as each bathroom to outline your sink, faucet type, toilet location, shower valves and trim, and vanity sizes. Are your vanities floating on the wall or do they sit flush on the floor. These details are hugely important to your plumber and how and where the run the water lines. No detail is too small to include here.
*Check back for our upcoming blog on all things plumbing where we go into greater detail!
Lighting schedule
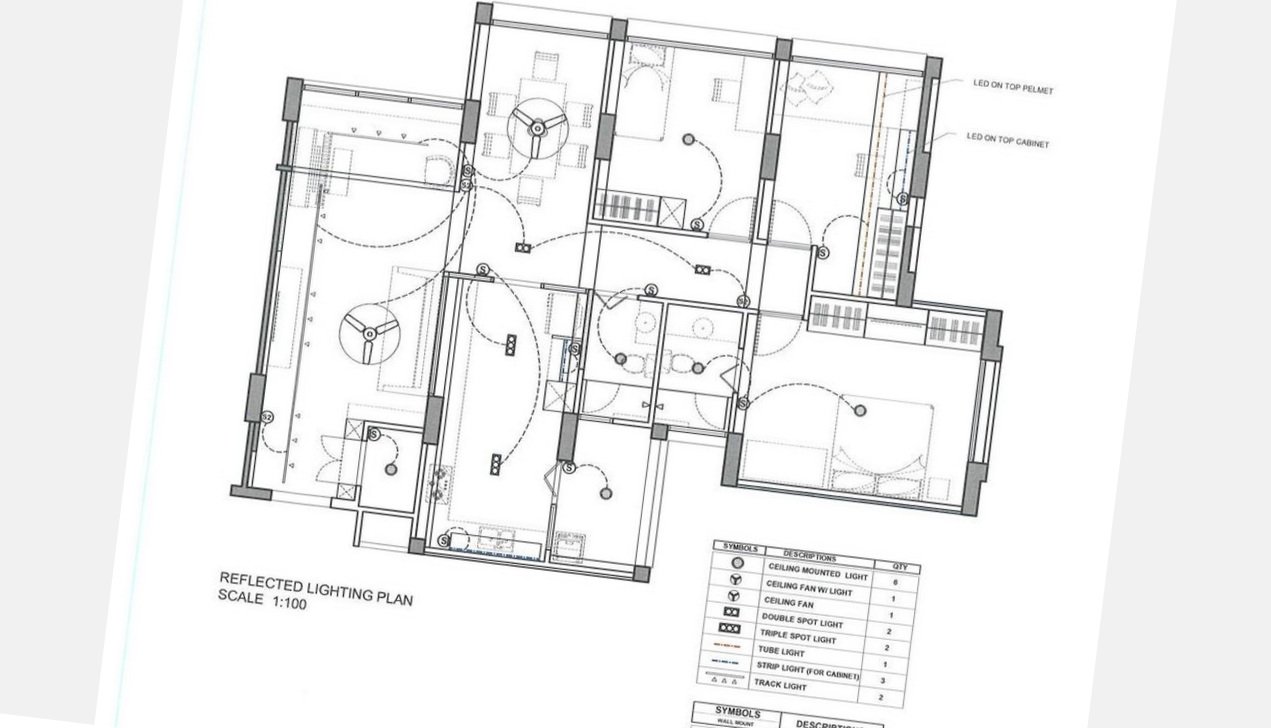
Back to the floor plans for this one. I think long and hard about where to place recessed lights versus surface mounted fixtures while thinking again about furniture placement and the overall flow of life and everyday use. If there’s an office, do I have bookcases, do they have lights above or attached that an electrician needs to run wiring for? Does your kitchen island have pendant lights? Two or Three? What about under-cab lighting? Over your bathroom vanities, do you have single fixture or two wall sconces? Do you like ceiling fans or hanging fixtures in bedrooms? Which fixtures would you like on dimmer switches? The lighting schedule is less about budget and more about functionality.
Now, let’s walk outside. How many exterior lights? A single light next to the door, or a barn style light overhead? Landscape lighting? Flood lights for stormy winter nights coming in with groceries? We’ll dive deeper on your electrical plan in an upcoming blog going step by step through fixtures, selections, placements of fixtures and switches, and best questions for your electrician.
Tile schedule
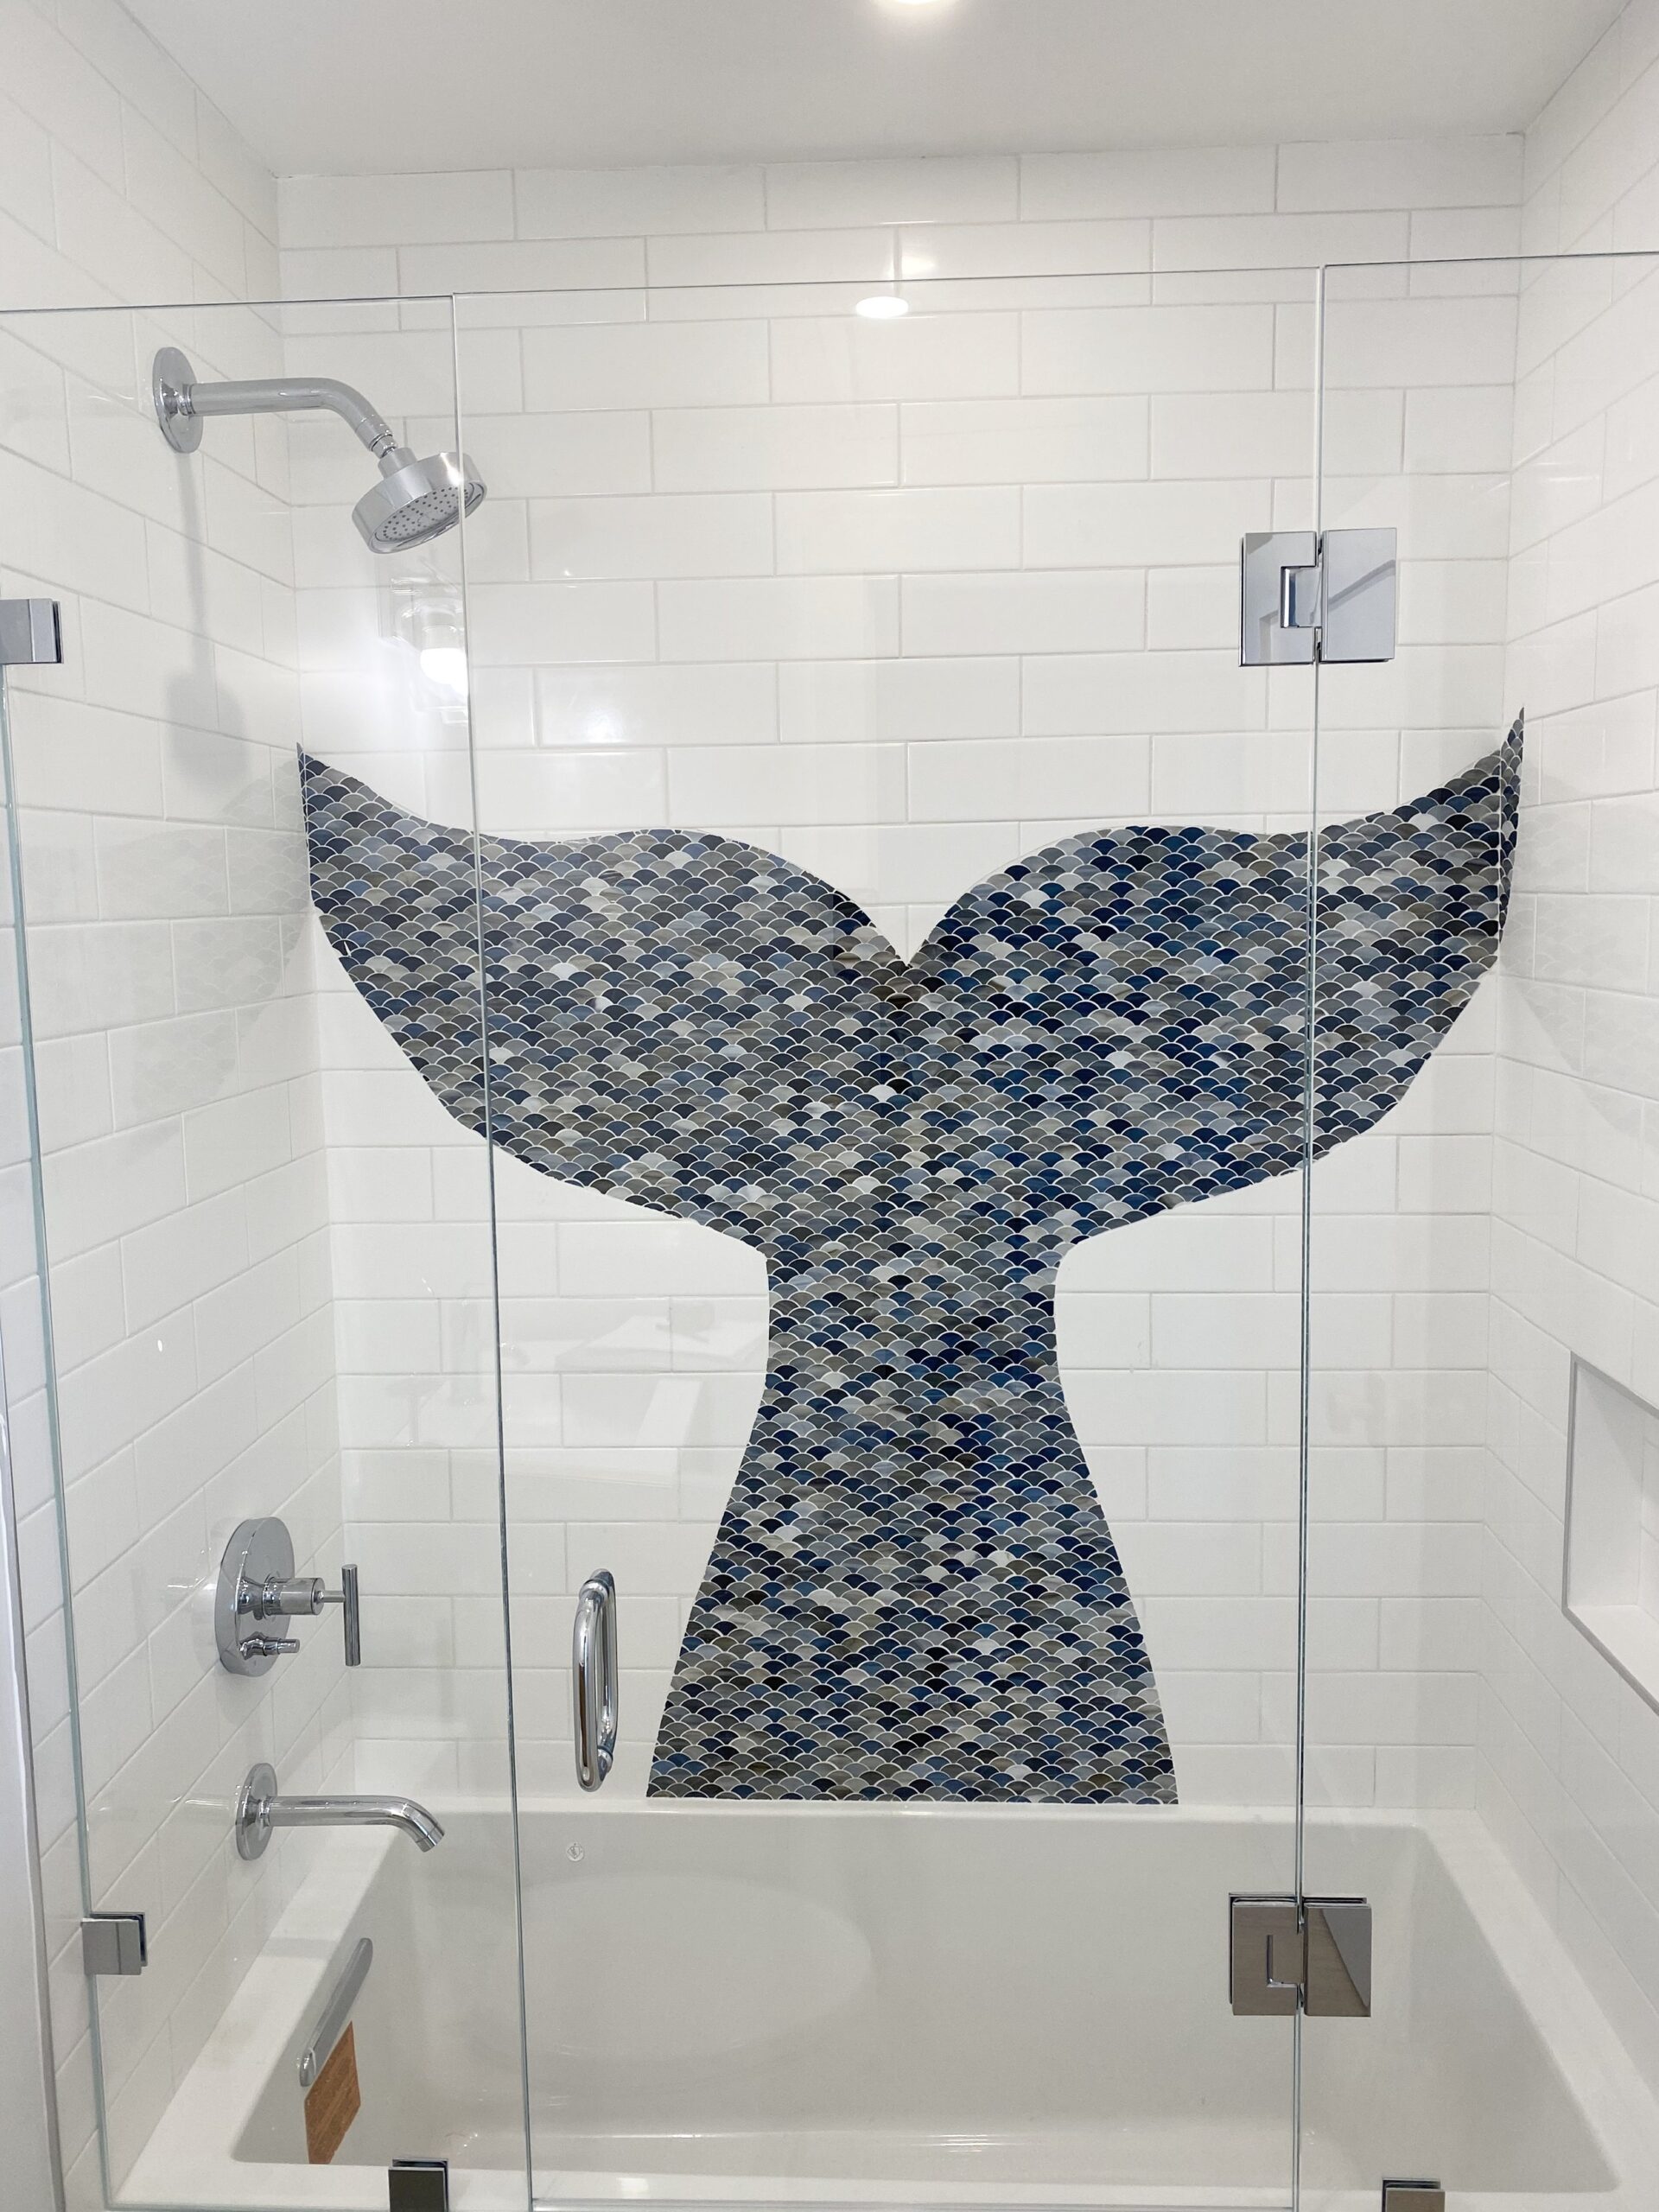
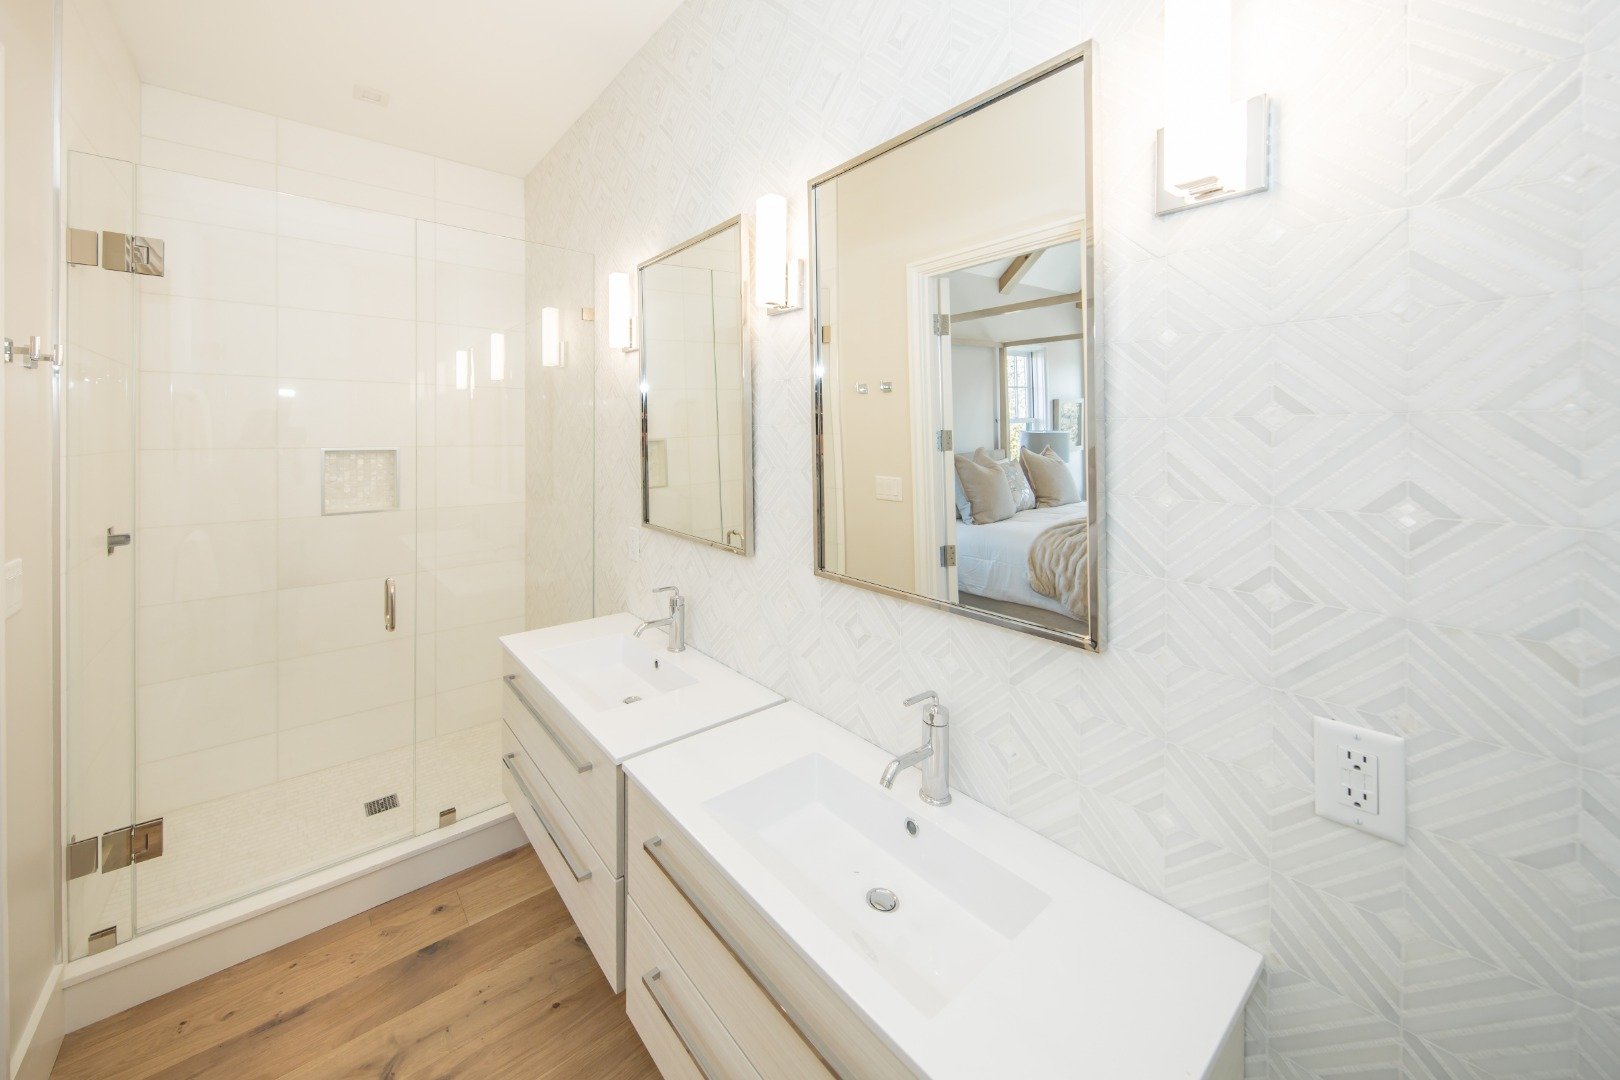
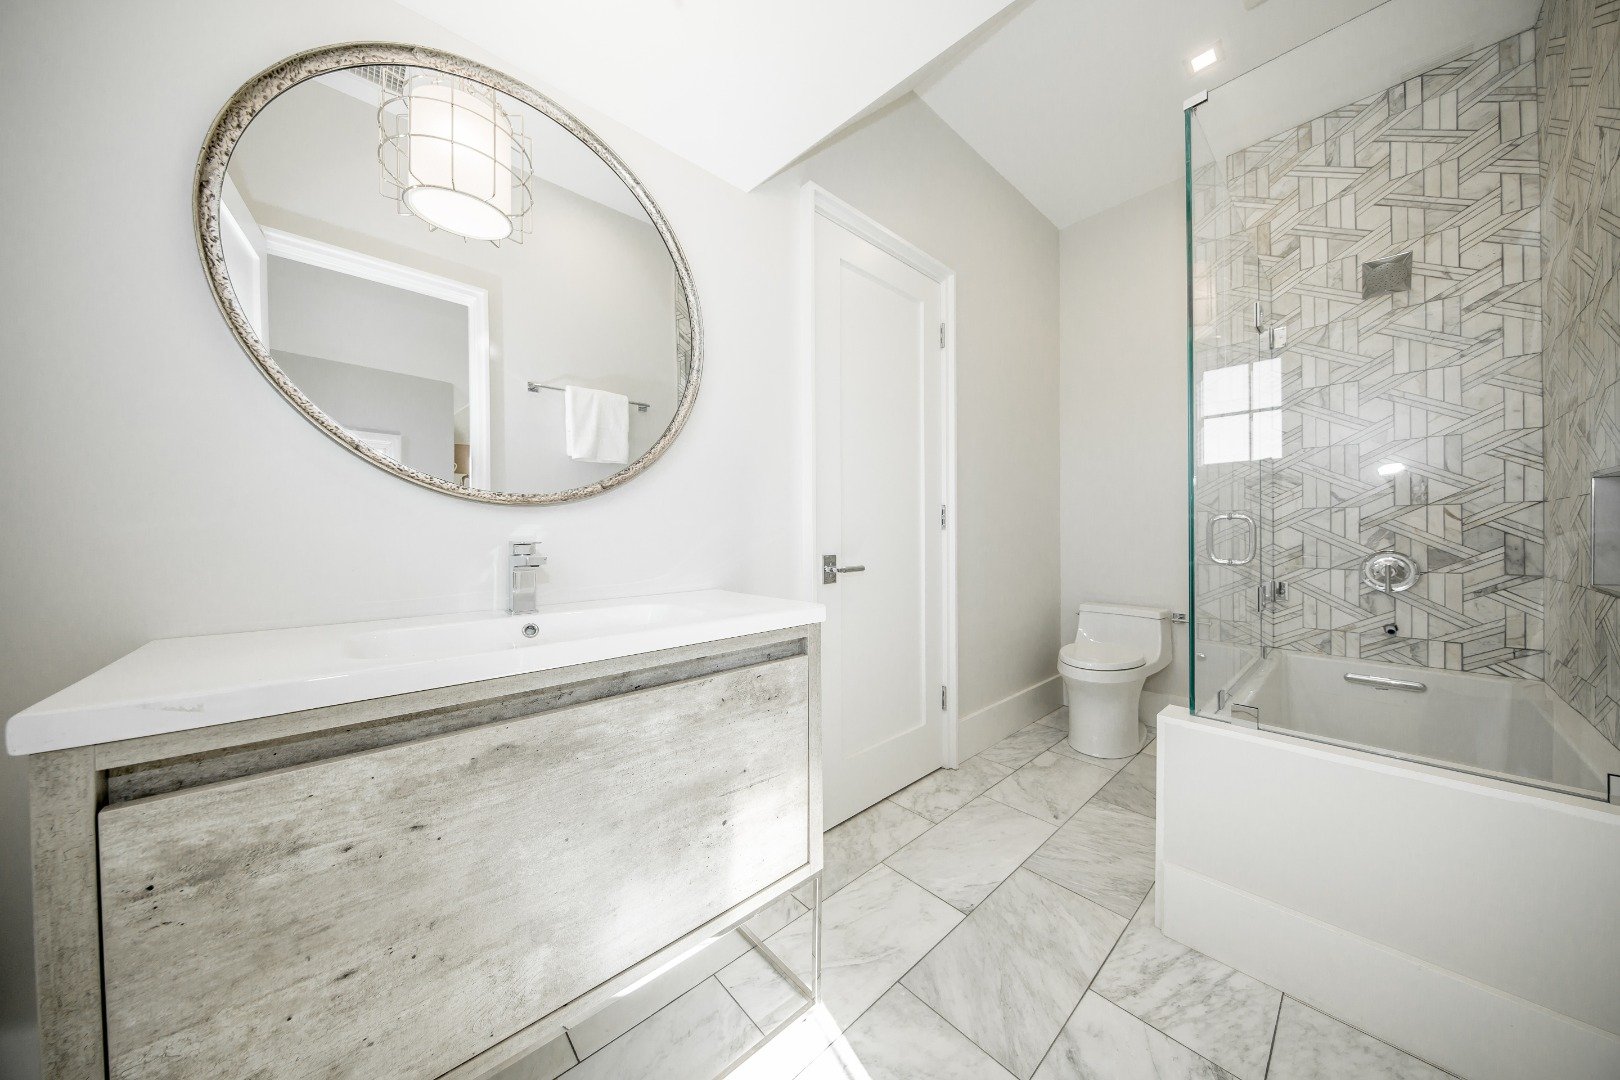
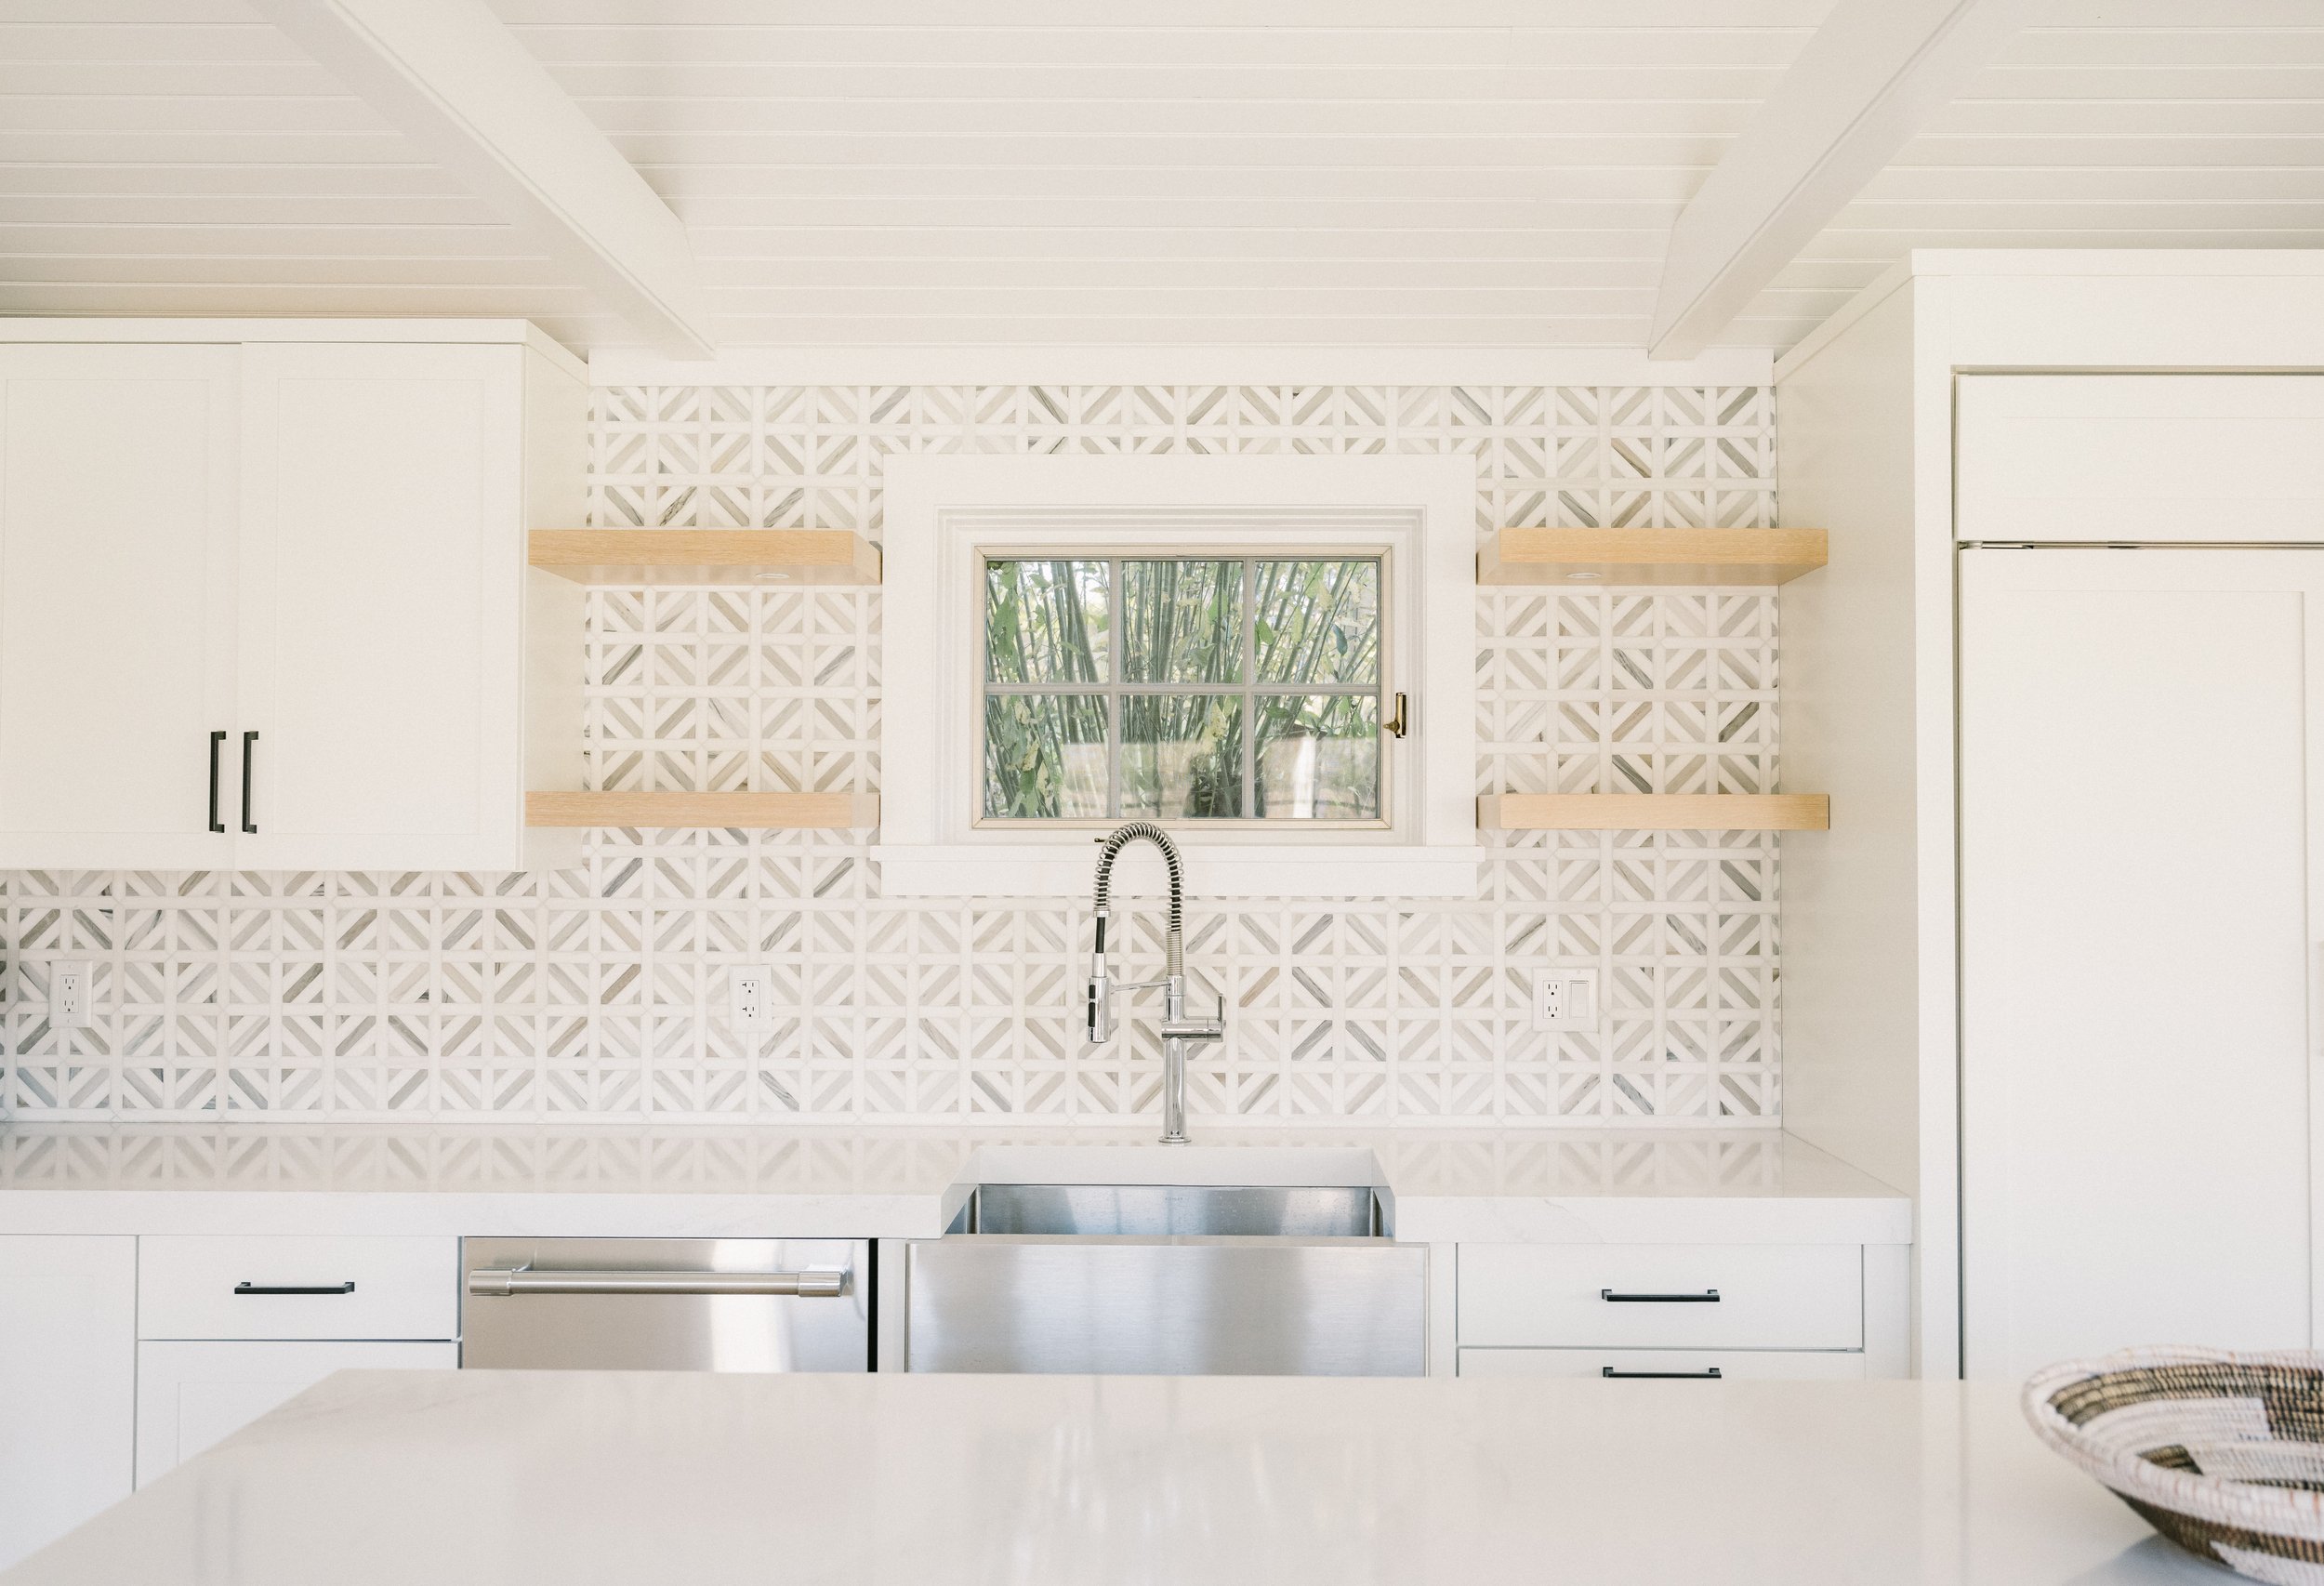
This one is fun, as it’s more about the pretty than the function. First it’s identifying where you have tile being installed. Again, go room by room. Kitchen backsplash, laundry room floor, master shower? Identify where you have tile (your builder or installer will take care of measuring and usually the ordering too). Now once you’ve selected your tile based on your budget and overall design, be sure to note how the tile is installed. Pinterest is a go-to here if you’re unsure what style you like. 50% brick; herringbone, basketweave….the install pattern varies based on the size and shape of your tile and it’s always helpful to see some real life examples. I also like to note shower niches. Does your niche have a stone shelf? Is there a different tile inset to the back of the niche or maybe it’s the same tile just installed in a different pattern? Lastly, what’s your transition type for the tile – bullnose tile, schluter stripes (that match your finish on your faucet and shower trim), your threshold material for the shower etc. The more info here the better. Again, more info to come where we dive deeper into all things tile.
Paint schedule
This is an easy one, note the trim paint color and then room by room, walls and ceiling – also note the finish. I like a satin finish for baseboards and window trims (cleanable!) and an eggshell finish for walls which feels more matte but yet, still cleanable. PSA – DO NOT USE FLAT finish on anything (it is the least expensive but you’ll pay in spades later). This is a matte finish yes but not easy to wipe and will often stain. The paint schedule is also where I list a wall treatment other than paint, think wallpaper or shiplap, so the builder and painter know how the walls need to be prepped.
Now, open up that “new excel file” and start organizing! You got this.
filed under
February 10, 2023
POSTED ON
