
For this chapter of life, “home” included a significant renovation. This project was a bit of a departure from my everyday as a Nantucket Interior Designer. My personal budget, unlike most of my clients, was modest, as was the purchase price. I ALWAYS keep an eye on the spend, and making sound budget decisions – you never know where life can take you and if you decide to sell sooner than planned, you want to know your investment is protected as best you can. Selecting finishes you like, that appeal to most, will be beneficial and a smart design approach. Throughout the condo, I replaced old dated tile and carpeted floors with pre-finished solid wood floors. New floors and paint throughout was a huge design lift completely transforming the spaces.
Kitchen
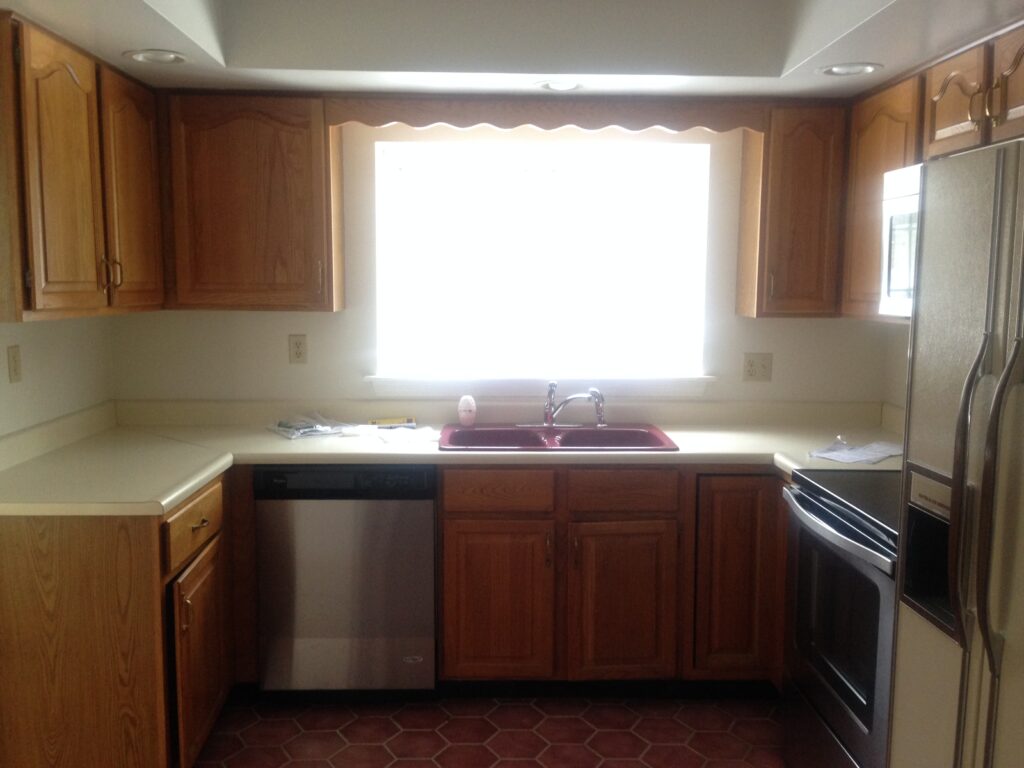
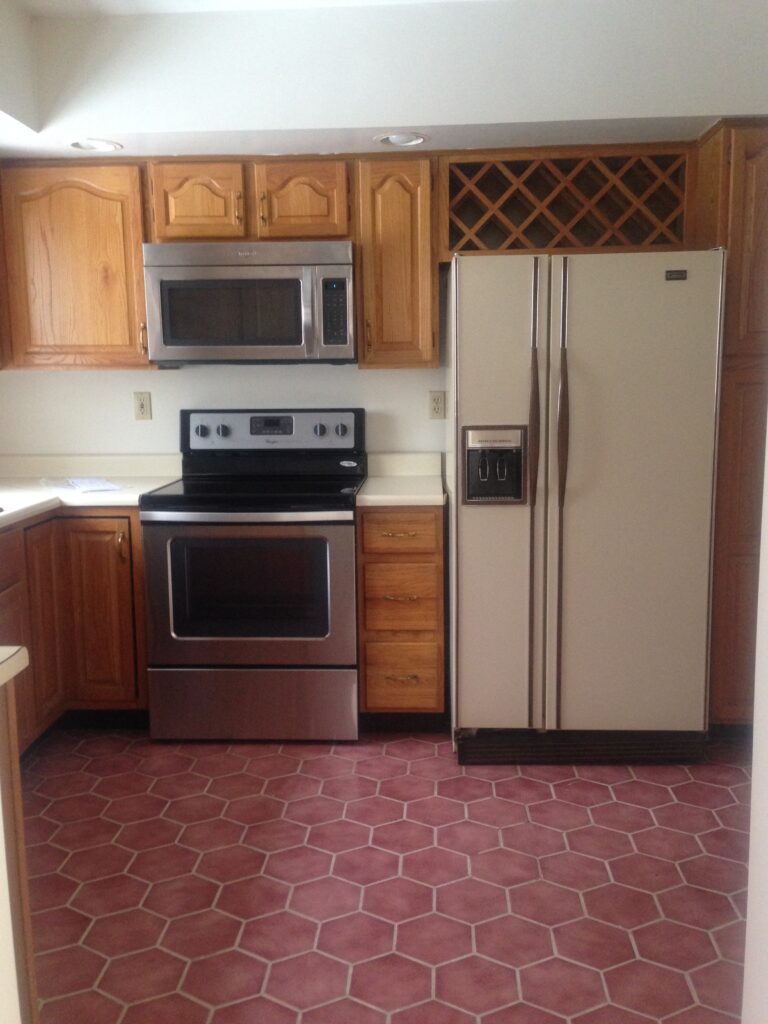
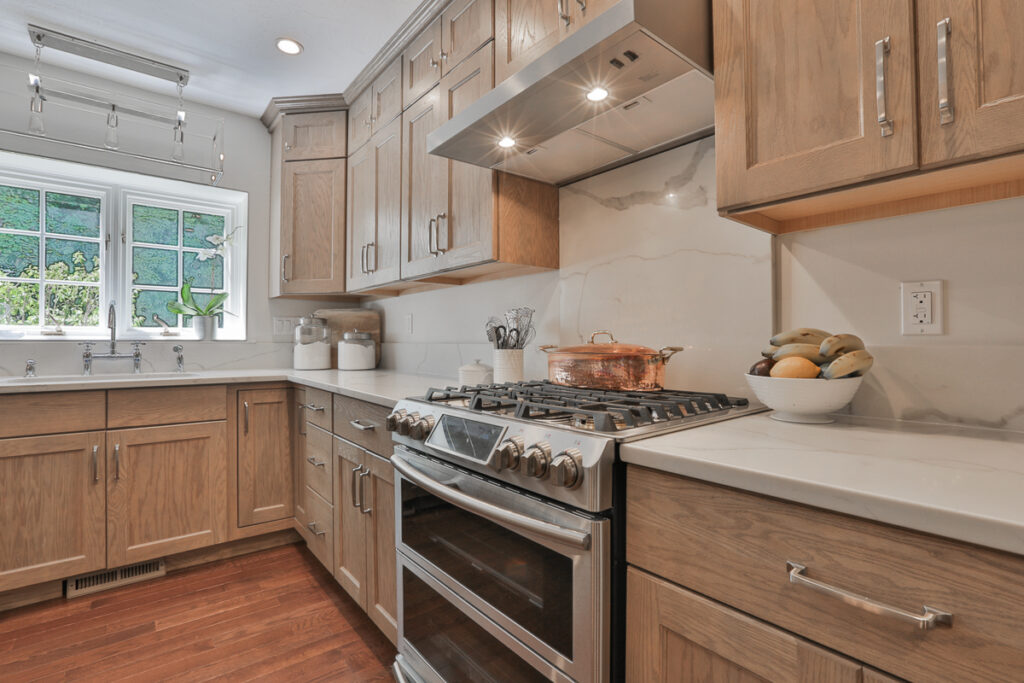
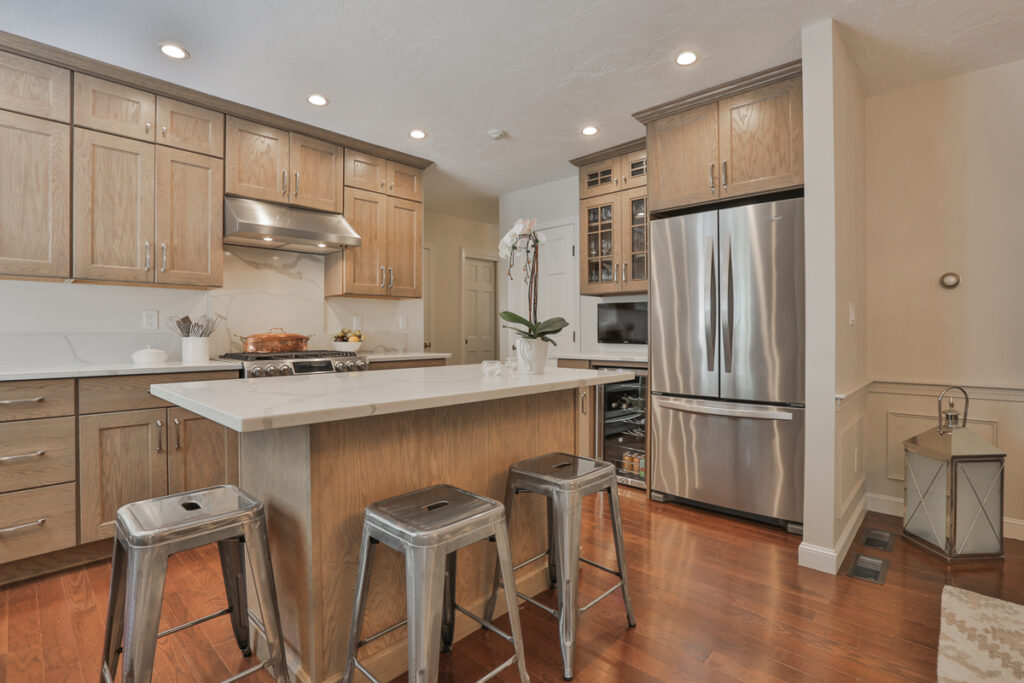
Allocating most of the renovation budget went to the kitchen. The cabinetry was original to the condo, nearly 30 years old and no great quality. New cabinetry, countertops and appliances was the icing on this Reno cake. Definitely a splurge, but this is the hardest working room in most homes. Life happens here, I felt strongly to spending the money here. How I saved, I was able to take advantage of an appliance package which gave me greater savings the more I purchased. I also saved by omitting a full backsplash and instead, opted for a 6” backsplash of the same countertop material. When you’re already purchasing the slab, you “own” the material so use it! To give a fresh look, I installed an 8” backsplash as opposed to the everyday industry 4” standard and I also installed one large piece for the entire area behind the range. I was able to complete all of the countertops and backsplash pieces staying under 1 slab – cost savings tip. Lastly, selecting budget friendly hardware, faucet and light fixture helped the bottom line too.
BEFORE KITCHEN PHOTOS
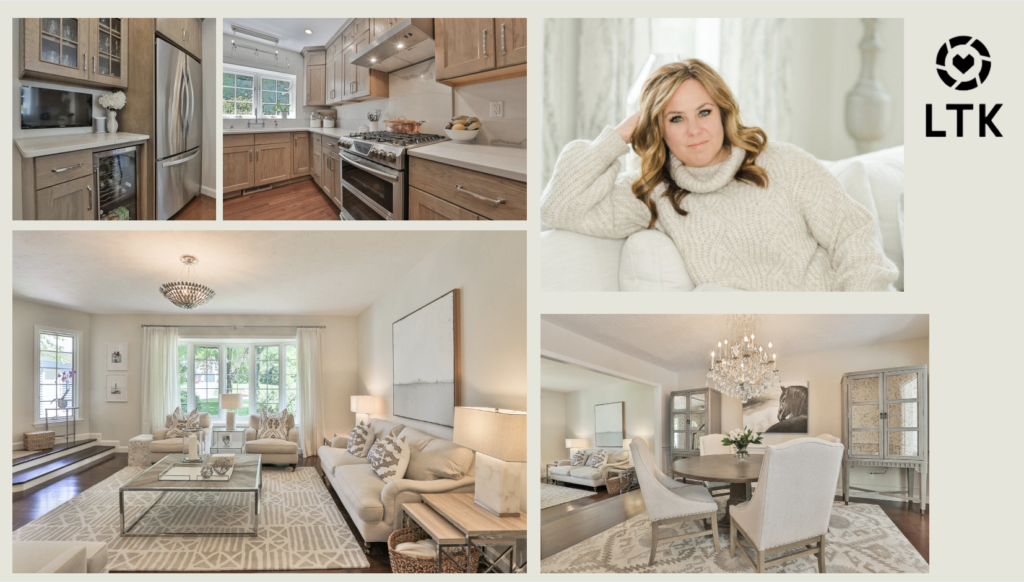
AFTER KITCHEN PHOTOS
Dining Room – Flex space
This 2 bedroom condo didn’t have a designated home office space, so, for my “office” I selected the dining area which wouldn’t see regular use as a dining room. This meant each piece had to serve double duty. A splurge here were the flanking bar cabinets. One piece housed traditional dining room items like glass and serveware while the other housed my office items like files and a printer. The table and chairs were a great size to spread out and work off my laptop. A beautiful rug and artwork anchored the space while the stunning Schonbek crystal chandelier (record thrifting score!) was the jewelry on this well balanced and double duty space. Bonus, the coffee pot was just steps away!

DESIGN MOMENT – Chandelier
Driving to my parent’s house one Mother’s Day, I passed by a local consignment shop to see this gorgeous chandelier in the window. The store was closed but luckily for me, I was spending the night. I went back the next morning and she’s been mine ever since. A quick google search proved this $25,000 chandelier for $3200 was in fact a STEAL and has now proudly hung in FOUR different homes we’ve had. The hundreds of crystals take an hour and half to take all of the crystals off and 2 plus hours to hang them back on, helped by a four page directions packet. It is so worth it and this beauty makes me smile everyday.
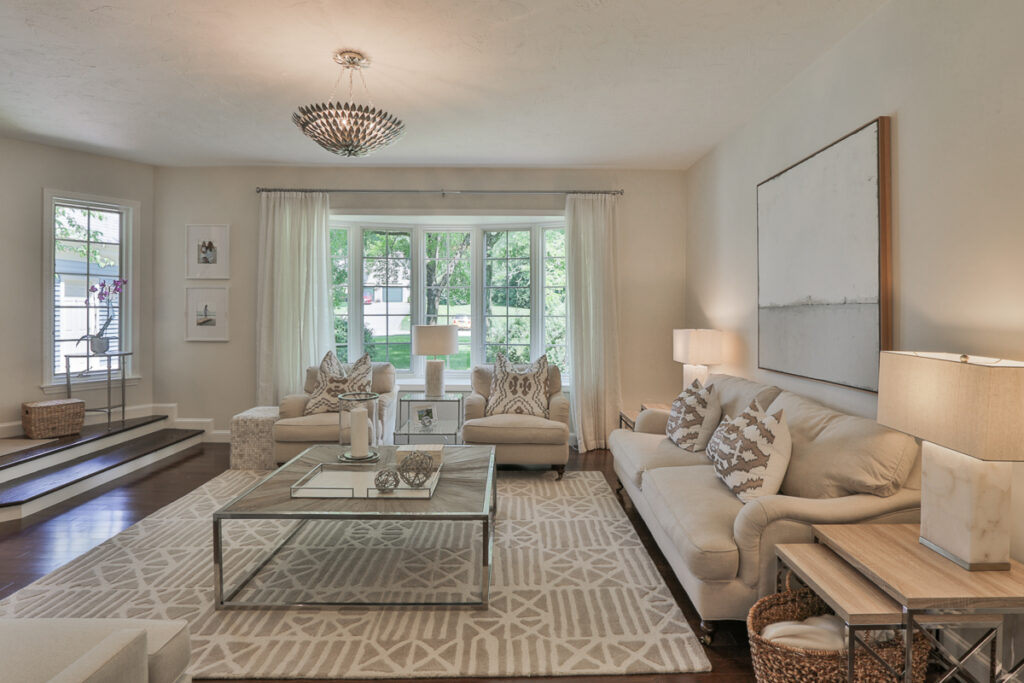
Living Room
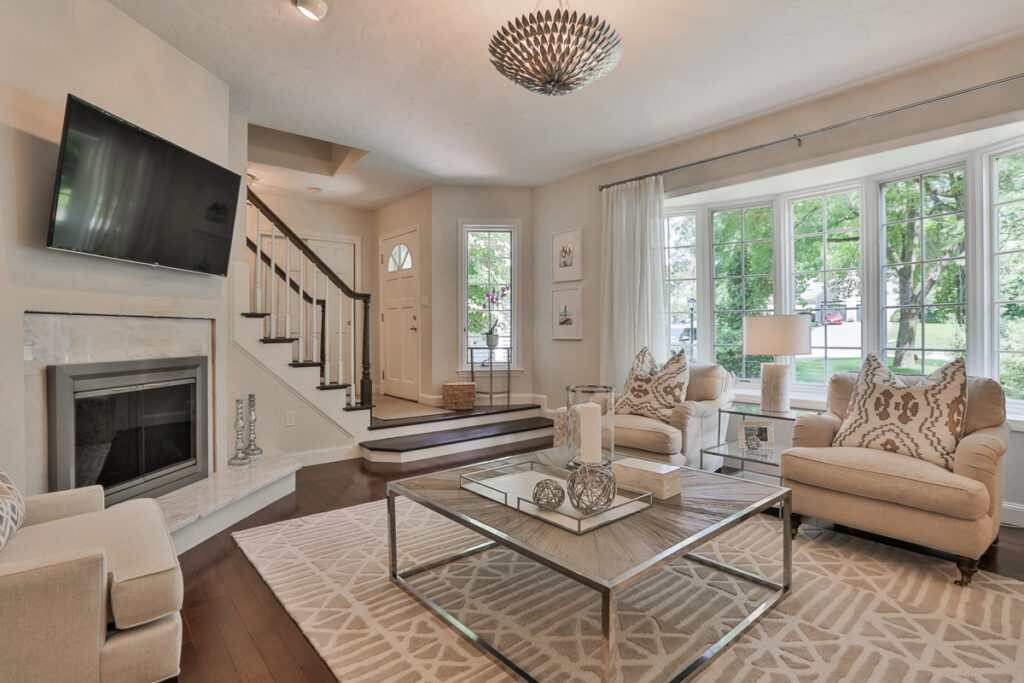
The center of this condo was a great living room with big windows and a terrible red brick fireplace. This was another design element where I prioritized renovation budget dollars. Santa is worth it! I covered up the brick with sheet rock, had a beautiful wood mantle built, and faced the remaining brick around the firebox along with the top of the hearth in a beautiful natural stone. By selecting a remnant piece, I saved 50% off the normal cost of the stone. This transformation was huge. The rest of the room was a straightforward design story of interesting rug, neutral sofa and chairs and a statement coffee table. As a Nantucket Interior Designer, my favorite pieces are the finishing touches like art, pillows and lamps (Homegoods). These added the right amount of personality. Lastly, privacy was a bit of an issue so the large bay window needed some drapes (did I say my parents lived three units over?). I bought sheers from Homegoods and stitched them together to cover the expansive width. Silver rods and rings elevated the design and the privacy box was now checked.
“Alex’s Room” – Series
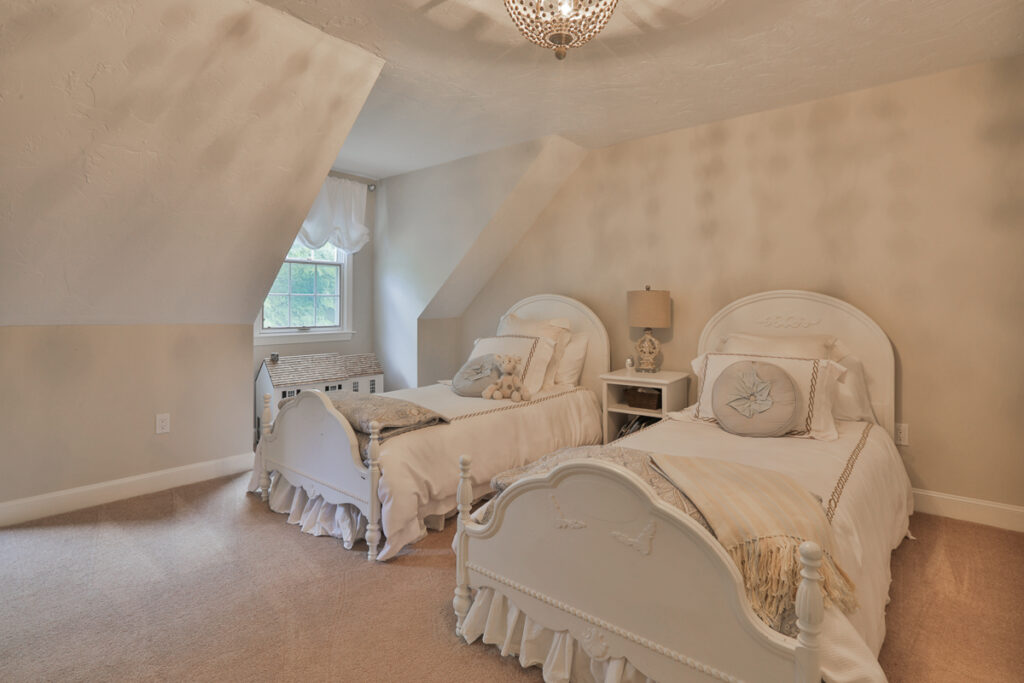
This was a sweet design for me. Two adorable vintage (thrifted) mahogany beds, striped and painted white. Dressed in gorgeous finds from the Matouk Fall River outlet and topped with some sweet quilts and shams from Marshalls. I made the quilts into smallish duvets just meant to be a decorative bed topper versus a heavy layer – just enough to add some personality to the all white palette. The rocking chair I had slipcovered when she was born also works in this space and tugs on the heartstrings a bit. On the floor, it’s wall to wall carpet. When designing rooms for the littles, carpet is softer, less expensive, but most importantly, so much better for sound reasons for the rooms below. Dropped toys on hardwood surfaces echo.
DESIGN MOMENT – Rocking Chair
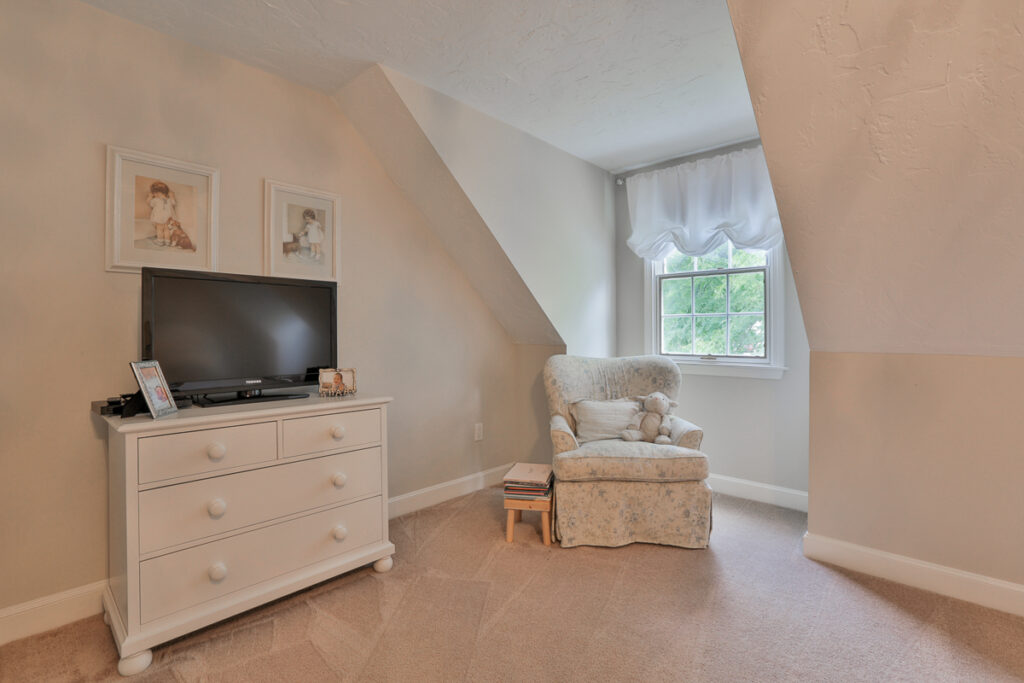
I was eight months pregnant and strolling through a consignment shop when I found a disaster of a tufted rocking chair. Good news bad news, as a Nantucket Interior Designer, I’ve purchased a LOT of chairs and it was the most comfortable chair I had ever sat in. This chair had great lines, and totally solid construction. Well $50 later, it went right in my SUV and we were off to have a new slipcover made for it. Design challenge, how on earth do you select a fabric when you don’t know if you having a boy or a girl? The nursery design to date was layers of taupe, tan and ivory. Well, I found the sweetest toile that had both pink and blue flowers throughout. That rocker is still with us today, thirteen years later, I simply can’t let it go – though maybe it’s time for a new slipcover?
Shop the Post
filed under
April 15, 2024
POSTED ON


