Three seconds to pick which room you’ve spent the most time in over the last 12 months…GO. For me, it’s the KITCHEN. And I mean by a landslide, making 3-5 MEALS….A….DAY. So, let me chat about how you can make your kitchen chores a little bit easier and maybe shave a few moments off your kitchen time stamp.
(for those who want to WATCH these tips, check out our appearance on THE TODAY SHOW where we chatted a few of these tips up with Al and crew.)
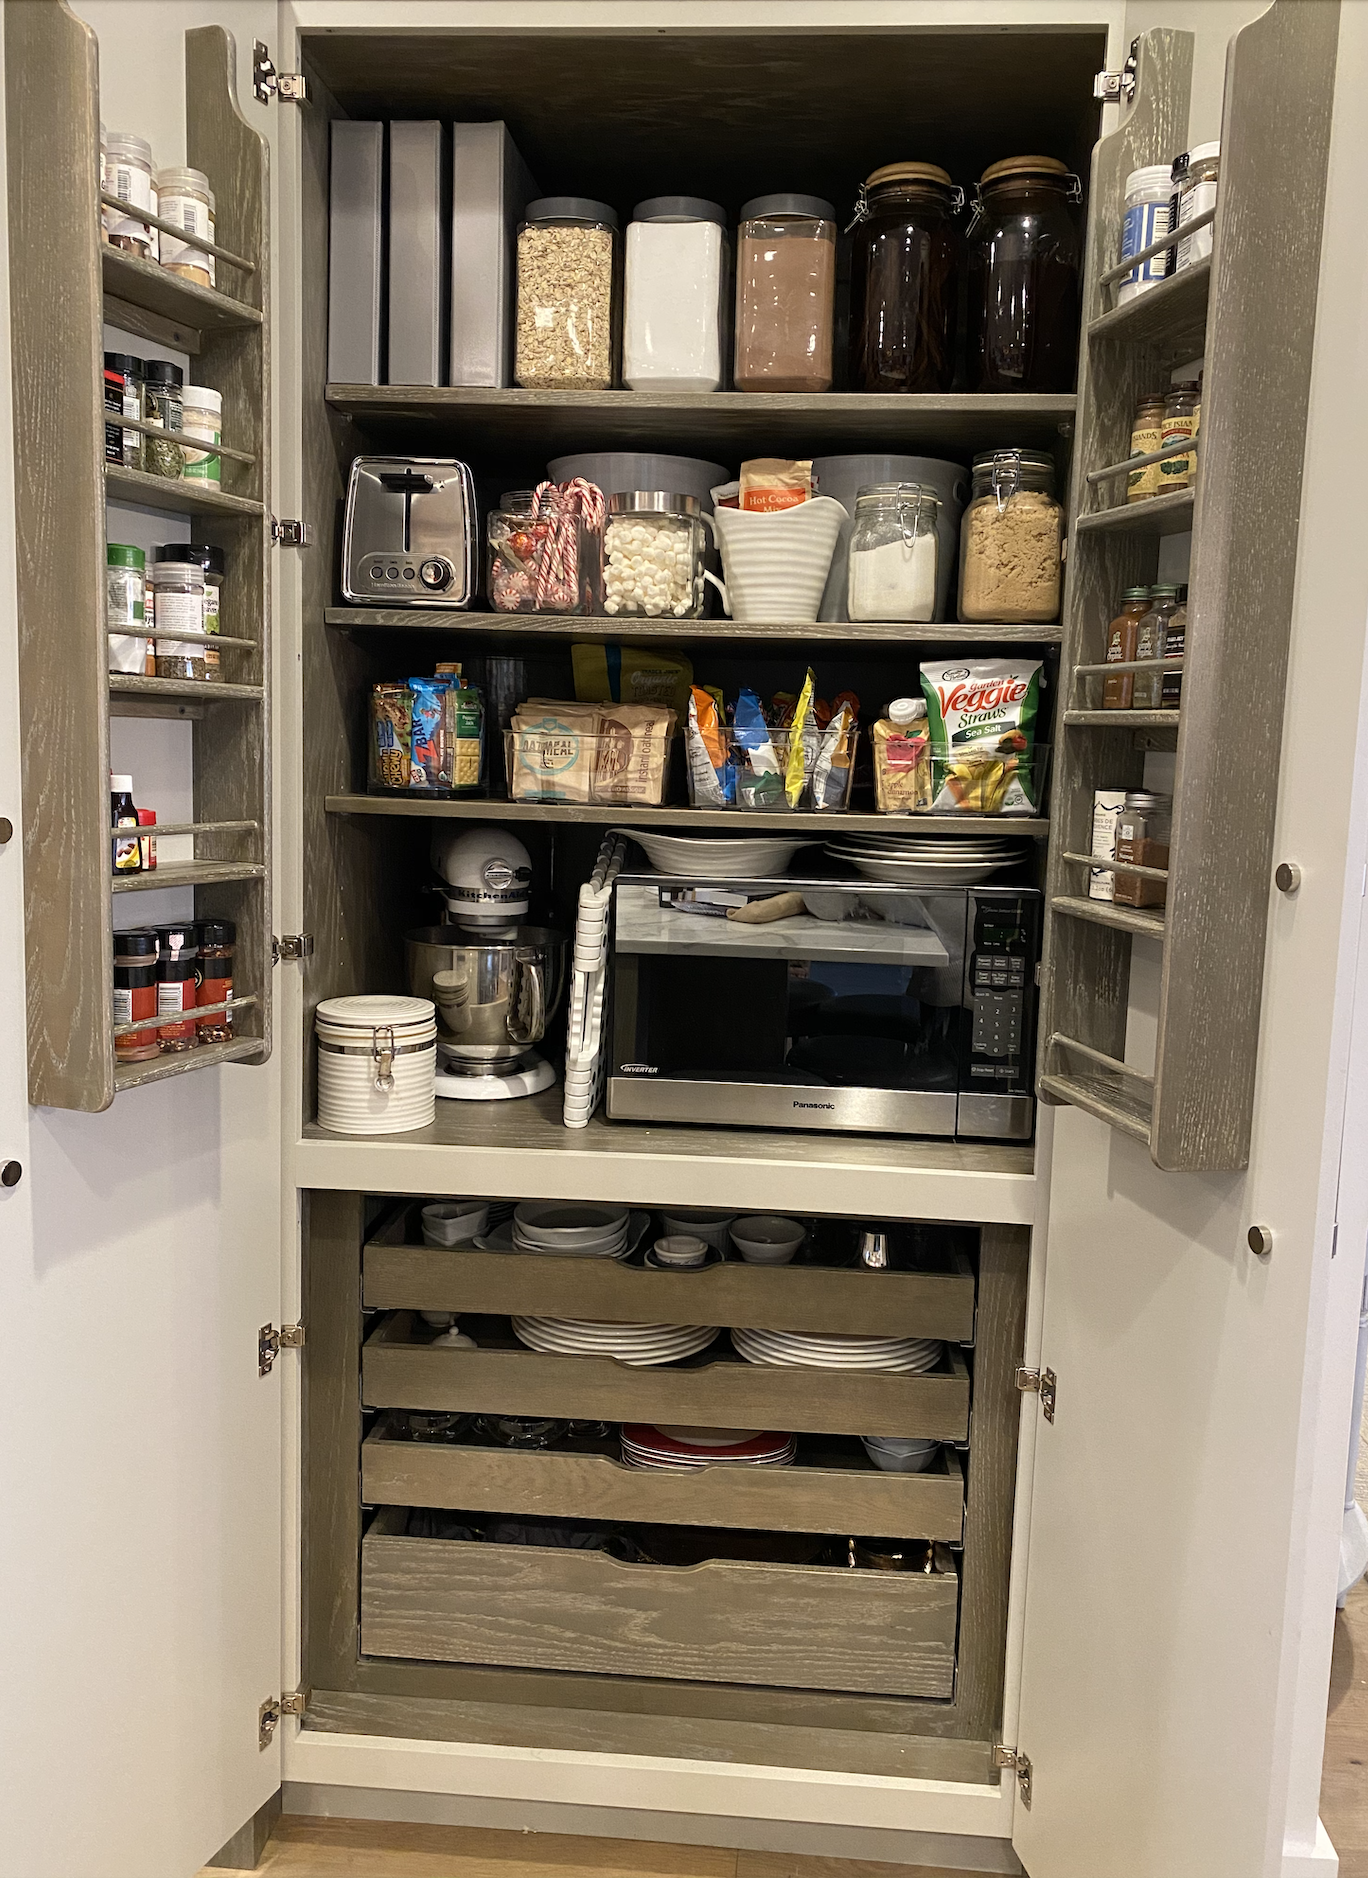
1. We see you Pinterest Pantry Perfection. And though I may not have the time or space for a lot of what I’ve seen, I took my largest cabinet and committed to some inexpensive but impactful storage solutions. Between my local Homegoods and Marshalls, I found these glass jars in a variety of sizes, plus some clear plastic bins and organized things we use all of the time like baking ingredients, breakfast items and after school treats. I also cleared off my counters and put some of the smaller appliances in here as well like my mixer and toaster . Still easy accessible without cluttering the kitchen (note the foldable step stool which is helpful for those taller shelves). TIP I used the glass canisters on higher shelves and plastic bins on lower shelves for safety in case my daughter’s sneaking in there for a snack.
Note the top shelf glass jars on the right – they’re homemade vanilla extract I started in 2011 -one is with vodka, the other is rum and my favorite to use in recipes like Ina’s homemade creme brulee. You can find a recipe for vanilla extract here one the Pioneer Woman’s website.
Another TIP from my pantry, I like to keep my recipes organized and within easy reach in standard 3 ring binders. Some cookbooks I use cover to cover and like on display, while sometimes it’s easier to just save a quick recipe printout in a plastic sleeve inside a binder.
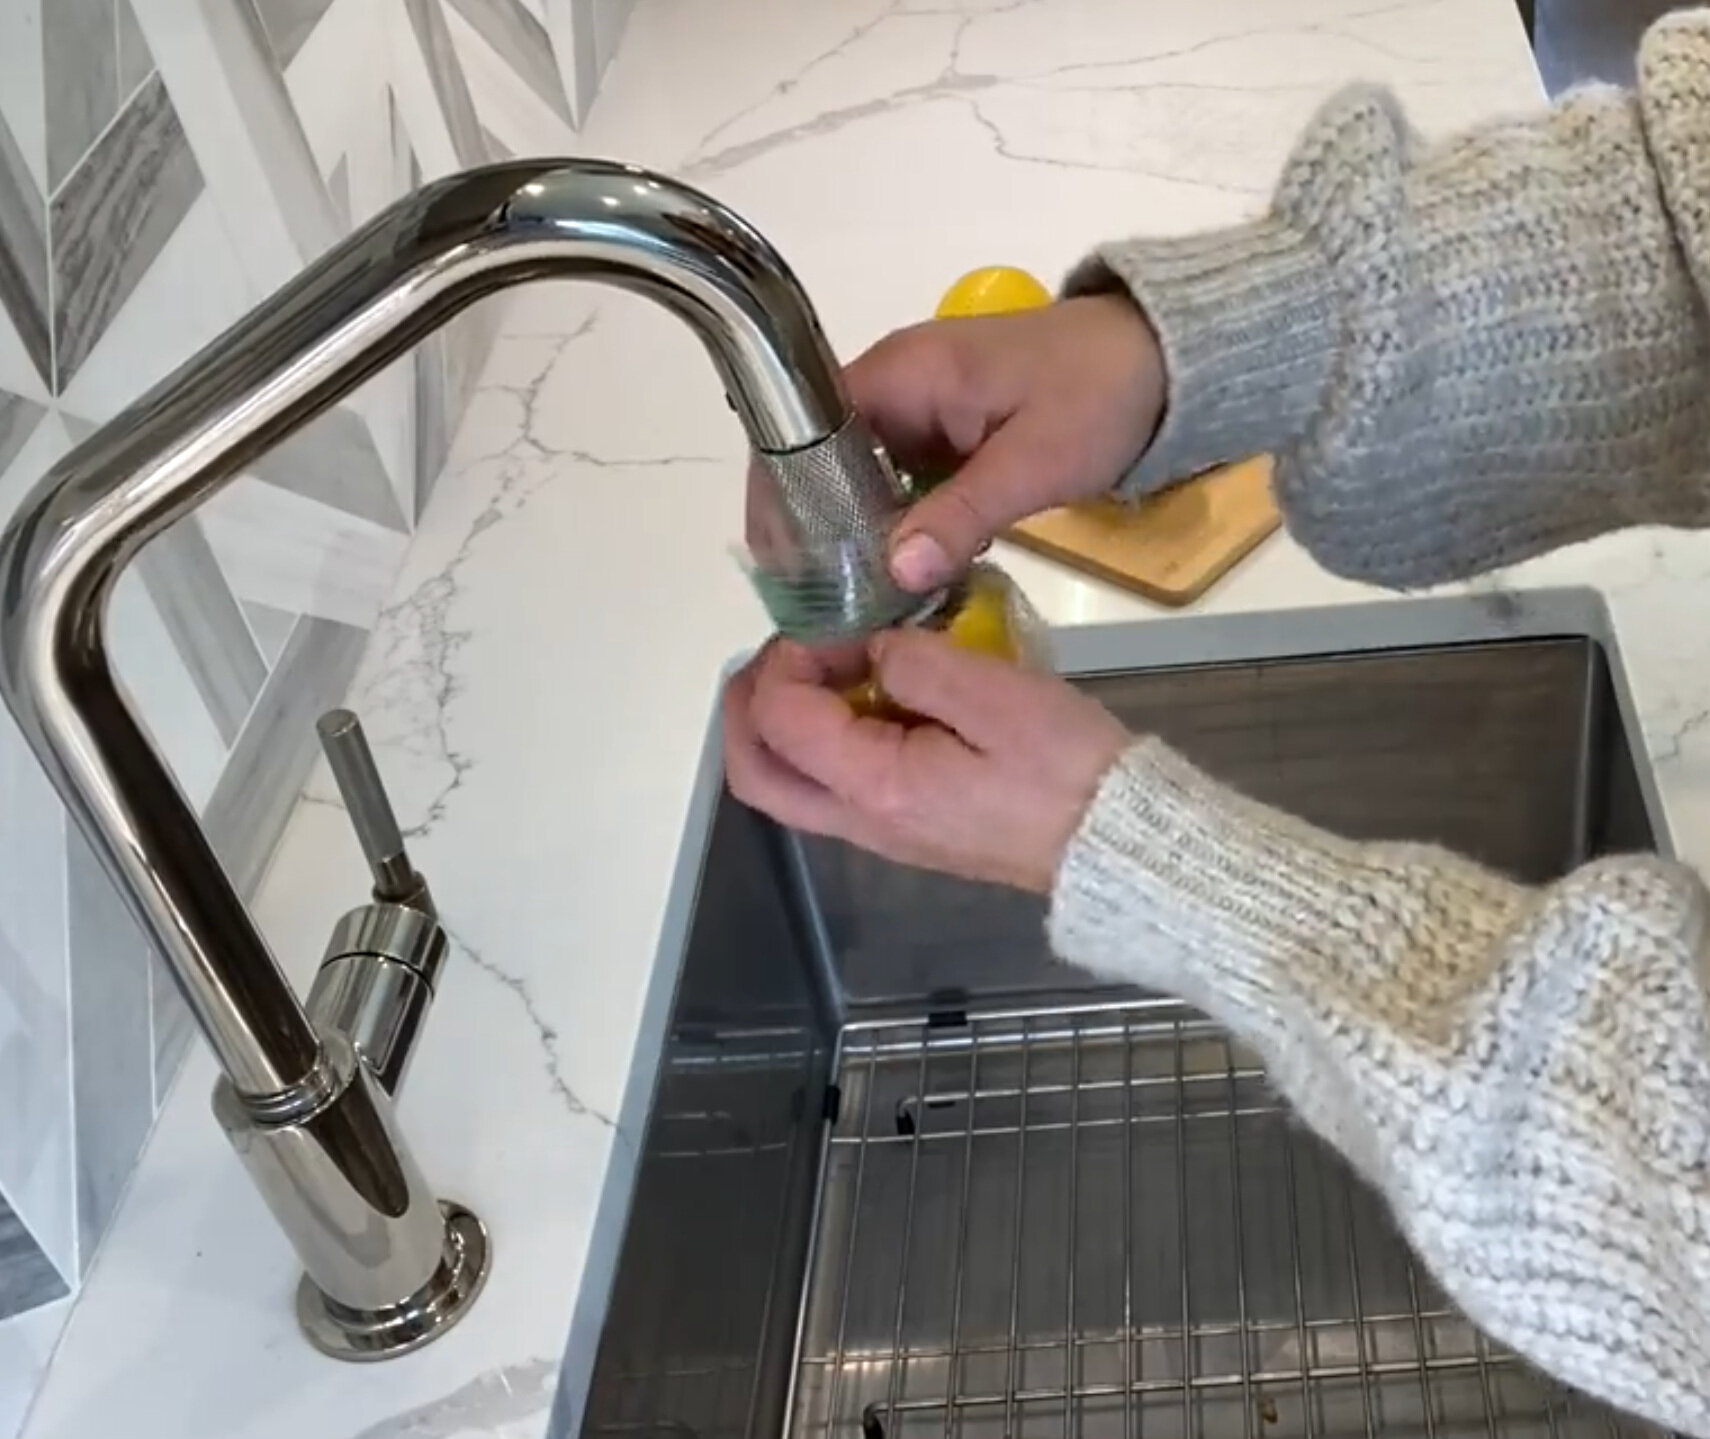
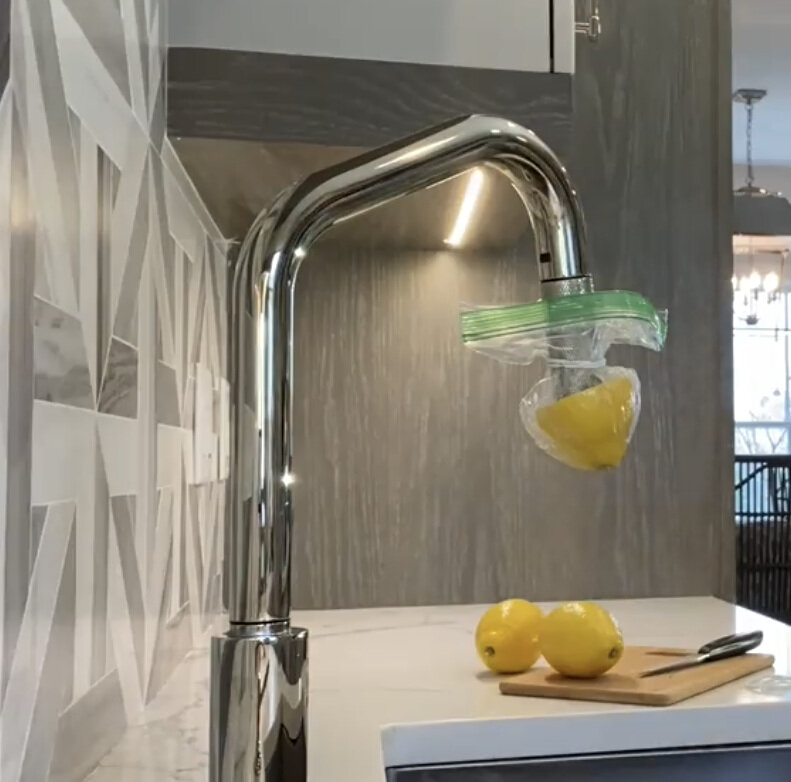
2. Get rid of hard water from your kitchen faucet with rubber band, plastic bag and lemon half. Simply put a lemon half in a plastic baggie, and with a rubber bank secure the lemon so the faucet is pressed into the cut side of the lemon. Leave for 5 minutes and the acid will “clean” your faucet and the hard water residue that can build up. Remove the lemon and let the water run for 2 minutes.
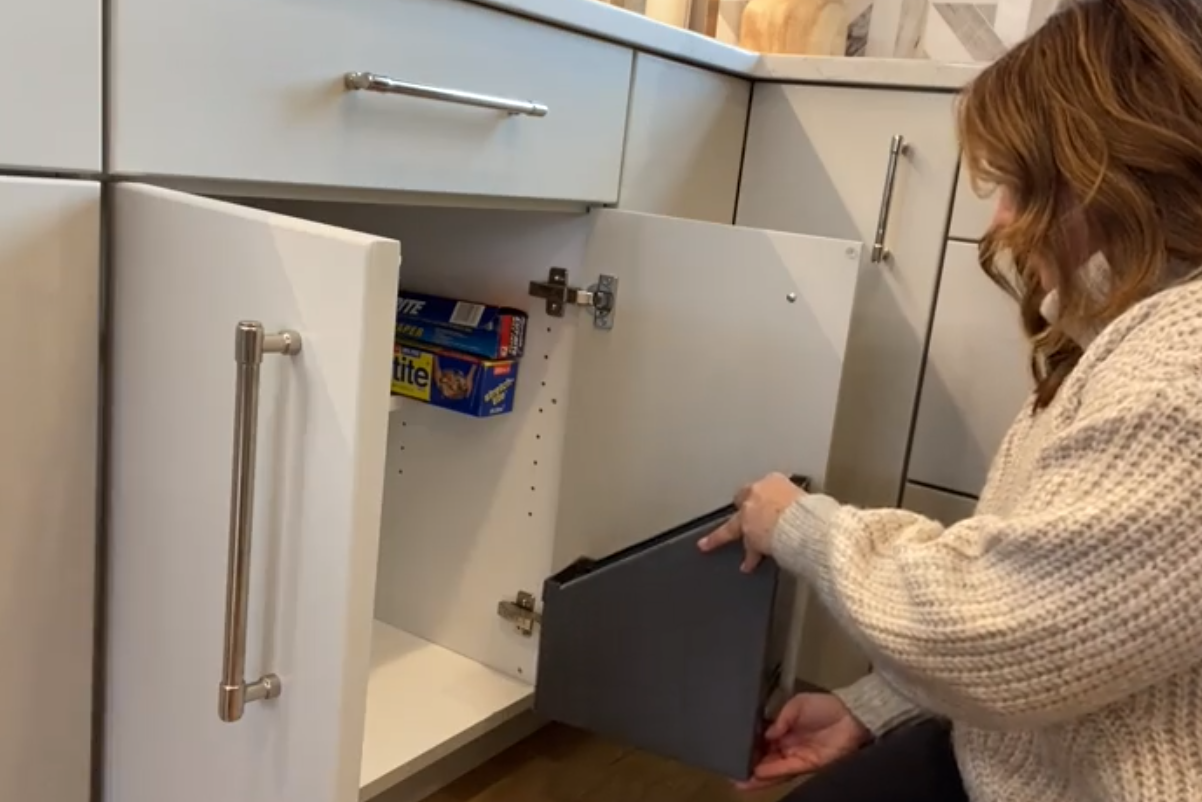
3. Mount self adhesive hooks for easy access to your plastic wrap (and others) on the inside of your cabinet doors. Measure the width of your product’s box. I use wax paper constantly with all of the baking going on, so I wanted that at eye level. Mark each end of the box where the hook will with latch on and make a small puncture for the hook. Mark your measurement on your cabinet door and mount each hook (these are my favorite by Command) a 1/2 inch short on each side so that the hook will fit snuggly in your puncture point. Hang your product and you’re ready for any easy grab.
Check out this quick 1 minute video
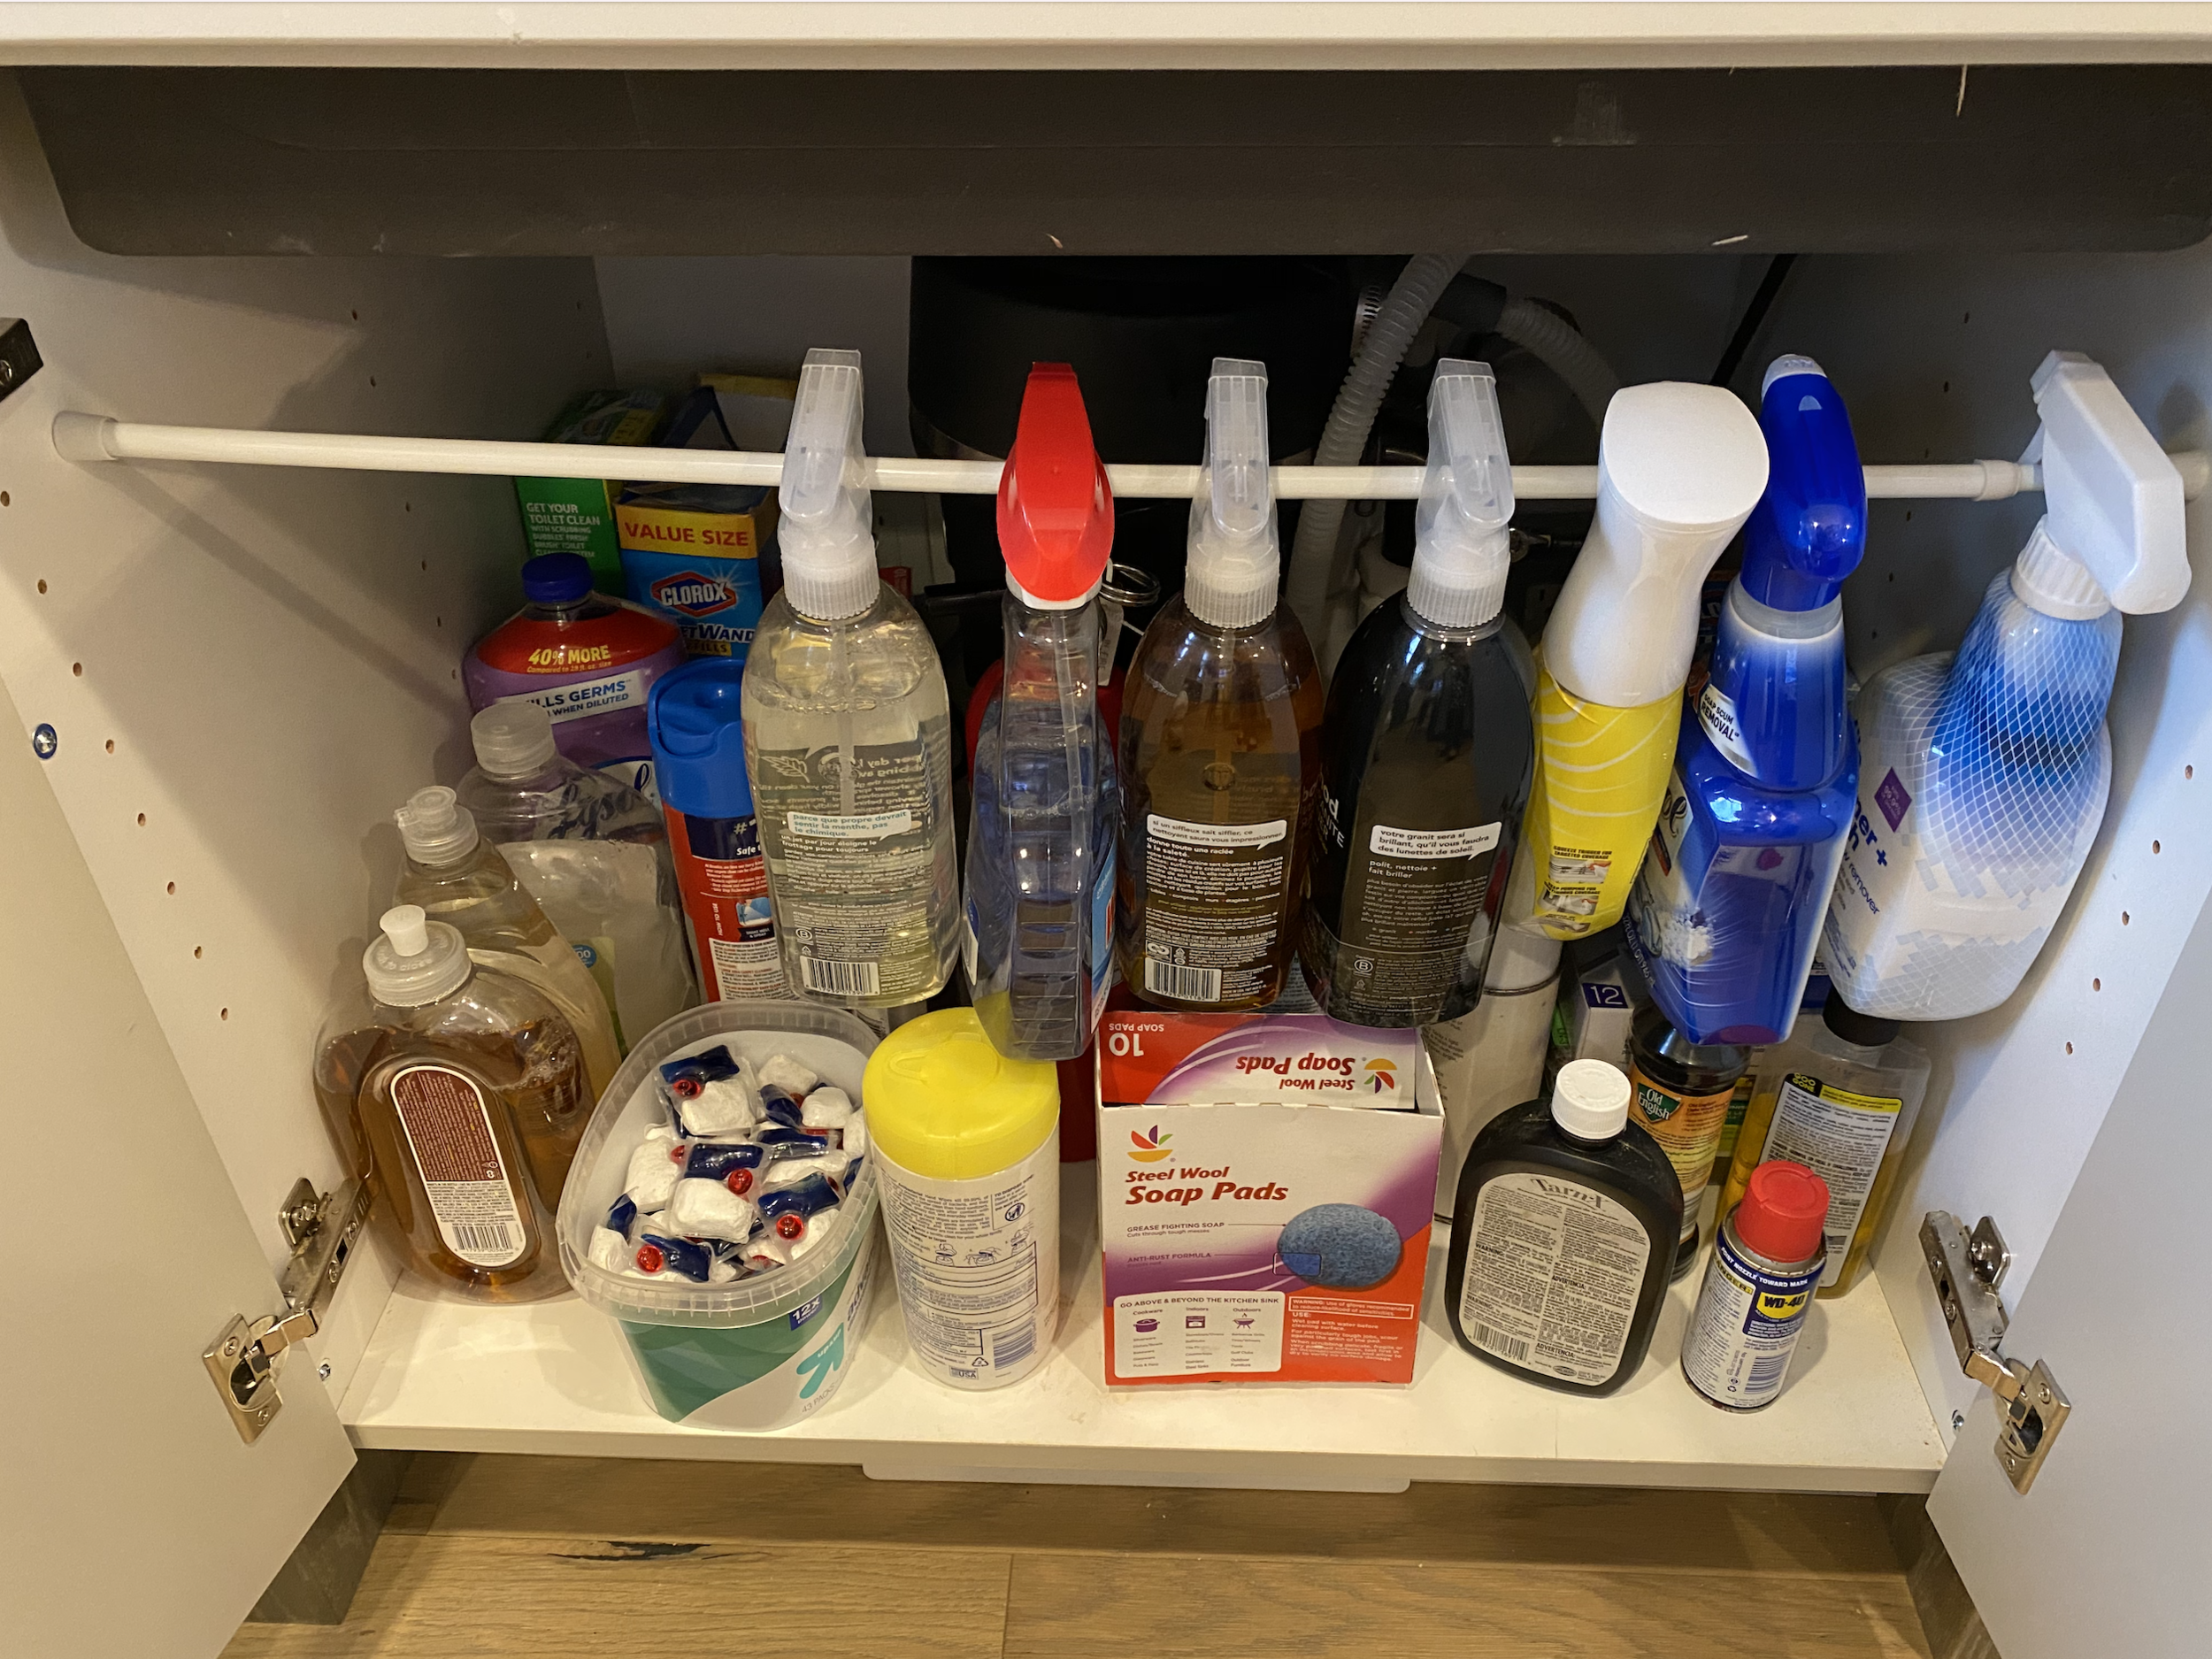
4. I’m convinced you can use a spring tension rod in every room in the house and here, I use one under my kitchen sink. They come in a variety of adjustable lengths. Measure the width of your cabinet, twist to install a snug fit, and there you have it, instant extra storage by hanging spray bottles!
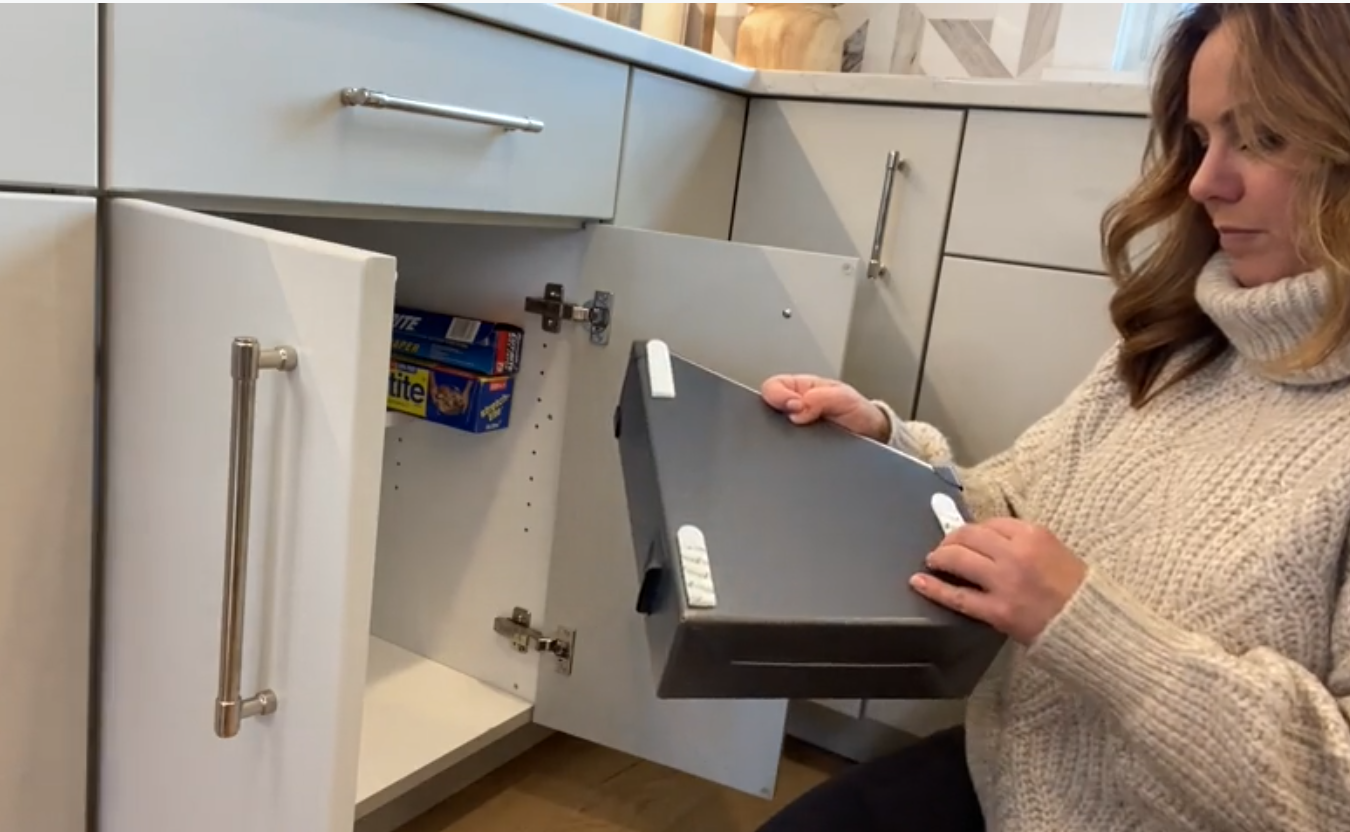
5. Use adhesive tape or removeable picture hanging strips and a magazine file to store items on the inside of your cabinet door. Place the strips in the corners of your file and simply stick it on the door. You can buy the strips for different weighted objects you’ll be hanging, so buy the appropriate set. I used a medium strip as I had just planned on items like rolling pins and other tall baking utensils. TIP – a cut cereal box works just as great as a magazine file!
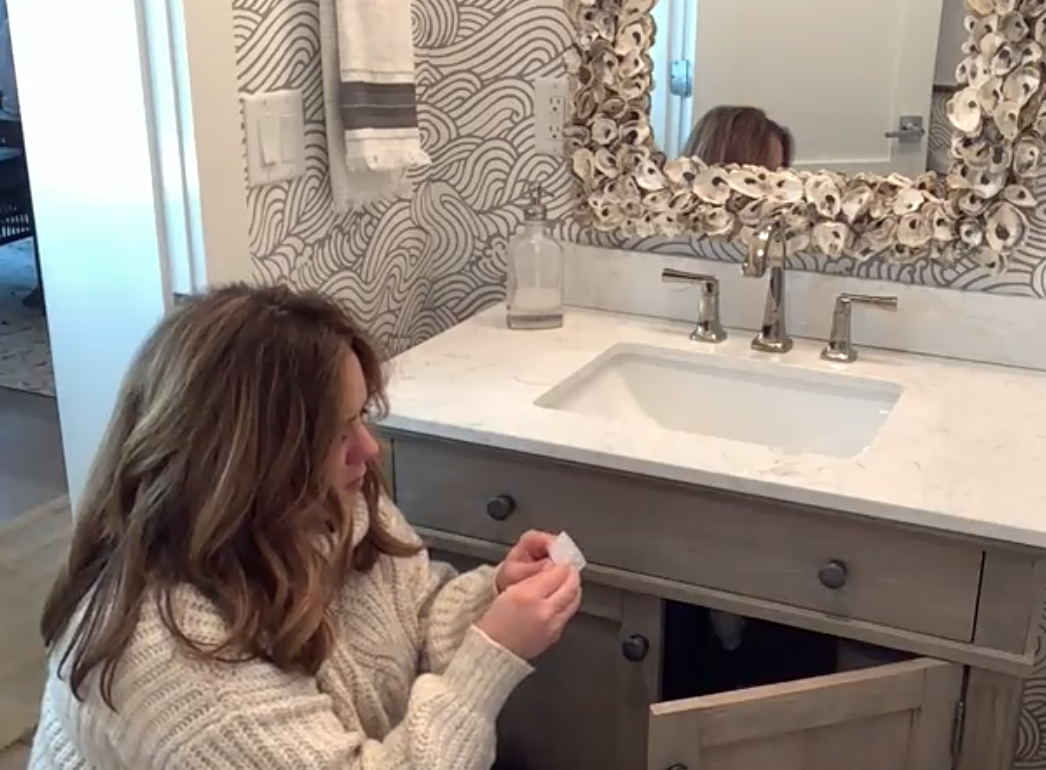
6. Eliminate slamming cabinet doors with an item that costs pennies – these self-adhesive rubber stoppers protect your doors from banging. They work great with all types of cabinetry, like this bathroom vanity. Simply peel and stick at top and bottom corners. Look for where the door meets the vanity or cabinet frame and the rubber stopper will prevent the banging. They’re small enough that the door still closes properly.
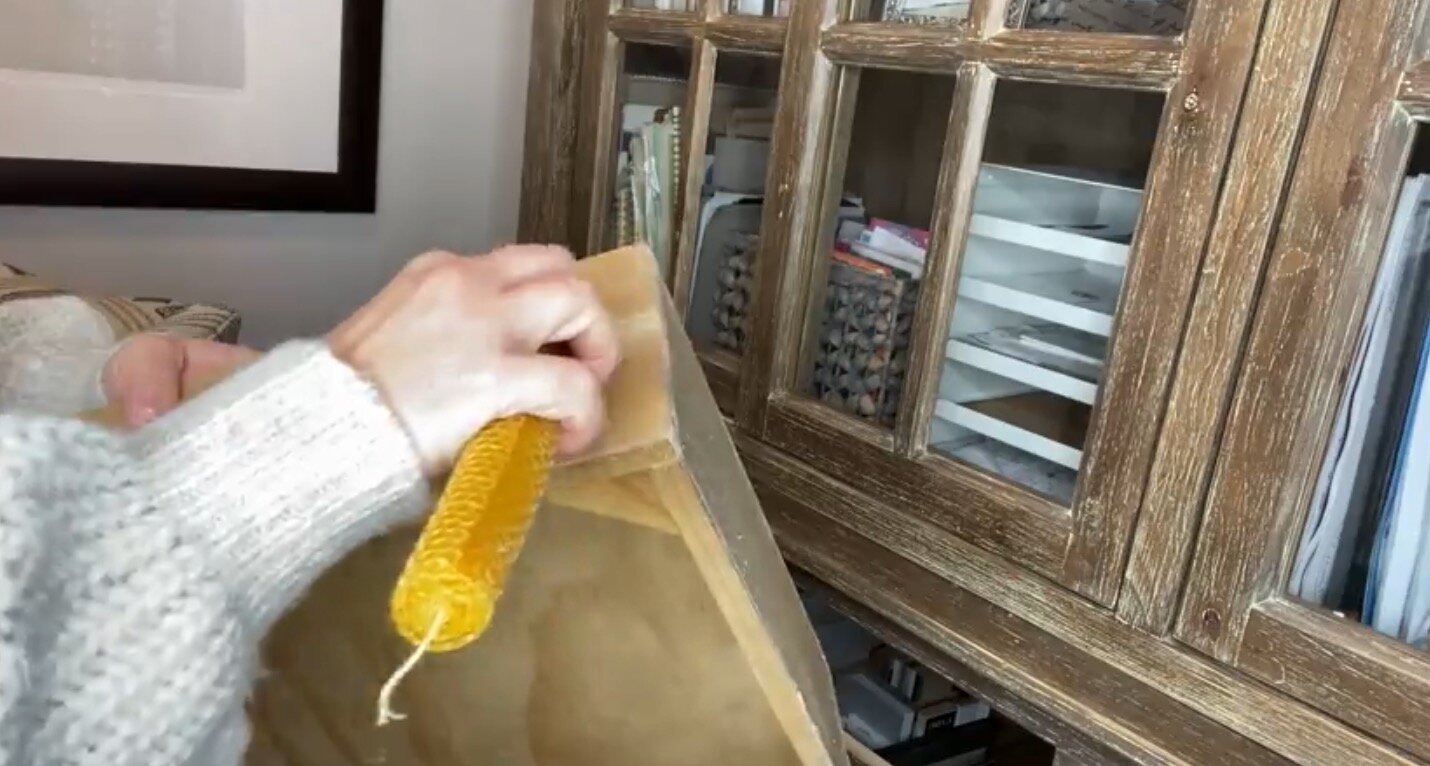
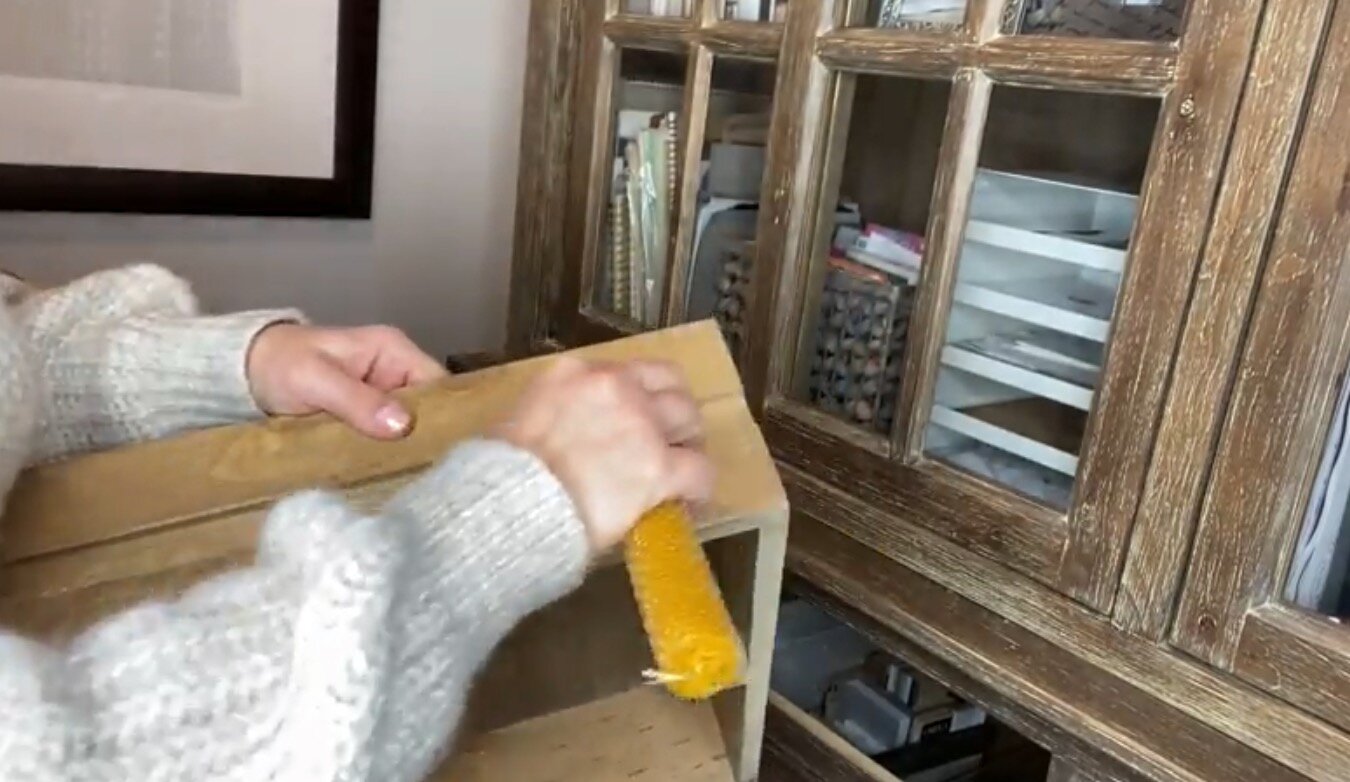
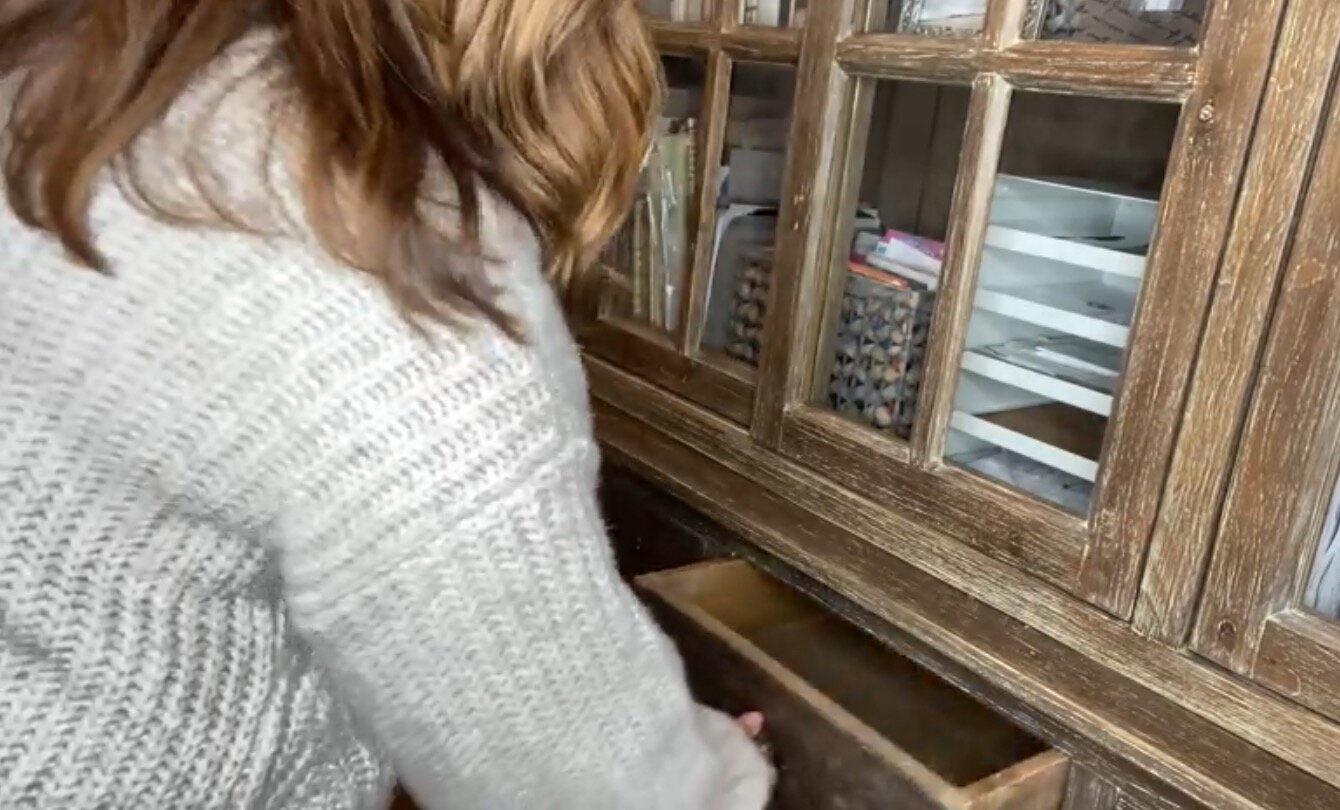
7. Eliminating sticking drawers with a candle. Over time, drawers can get sticky, especially if they are a wood drawer on a wood track. By taking a wax candle (I have bees wax here which is a bit softer) rub the track depositing a thin layer of wax. This acts as a lubricant allowing the drawer to glide more freely and bonus, won’t damage the wood.
Who doesn’t love a great kitchen hack? Each of these take just a minute to set up and I promise will help with tasks at hand. That’s a list I use in my own home, hopefully you will find some helpful tips and tricks…and some extra time for yourself!
Here are some other great DIY blogs and hacks to checkout for more!
filed under
February 19, 2021
POSTED ON
